Simple Website Tests You Can Automate with Browserbear
Contents
Testing is an essential part of the website development process. Whether you’re creating a brand-new site or maintaining an existing one, you need to be able to work out all the little bumps and bristles that add friction to the user experience.
If you’re working with a generous budget, you can hire a Quality Assurance (QA) tester to work with your development team and ensure the best possible product. But with limited resources, automated testing with a tool like Browserbear is a great solution—and in this article, we’ll explore a few ways you can set up tests for your own site.
What is Automated Website Testing?
Automated website testing uses software to evaluate a website’s performance, security, functionality, and user experience. This usually means performing repetitive actions like loading pages, clicking links, submitting forms, and interacting with the site in other ways that a user would.
While manual testing is an option, automated testing accelerates the process and helps discover issues earlier in the development cycle—ultimately helping to reduce time and costs.
Software like Browserbear can emulate user actions to ensure that your website responds as expected. Let’s look at different tests that can be automated with this software.
4 Web Testing Tasks to Automate with Browserbear
Browserbear is a nocode-friendly browser automation tool that can perform tasks on schedule or in response to triggers. It’s ideal for tasks that are:
- Repetitive and predictable
- Need to take place regularly or semi-regularly
- Involve actions that a human could perform on a webpage
With over 30 actions for browser control, page control, interaction, and data extraction, you can find endless task automation possibilities. Here are some ideas for your own site.
Website Responsiveness
A responsive website is one designed to adjust its layout for different screen sizes both in terms of presentability and functionality. An automated responsiveness test essentially loads the site using different viewport sizes at once, so you can check to see if all the elements still load correctly and can be easily interacted with. If the website fails the test, adjustments can be made to its responsiveness.
Building a Browserbear task that tests website responsiveness is quite easy: You just have to set up steps for loading a site, resizing it as needed, and taking a screenshot. The full workflow should look something like this:
A few things to keep in mind:
- There are two ways to set viewpoint heights and widths in Browserbear: through the task settings (Edit Task > Custom viewport height > Custom viewport width) and through a resize_window action.
- If resizing through task settings, create as many tasks as needed to test a variety of viewports.
- If resizing through a resize_window action, repeat the resize_window and take_screenshot steps as many times as needed in the same task.
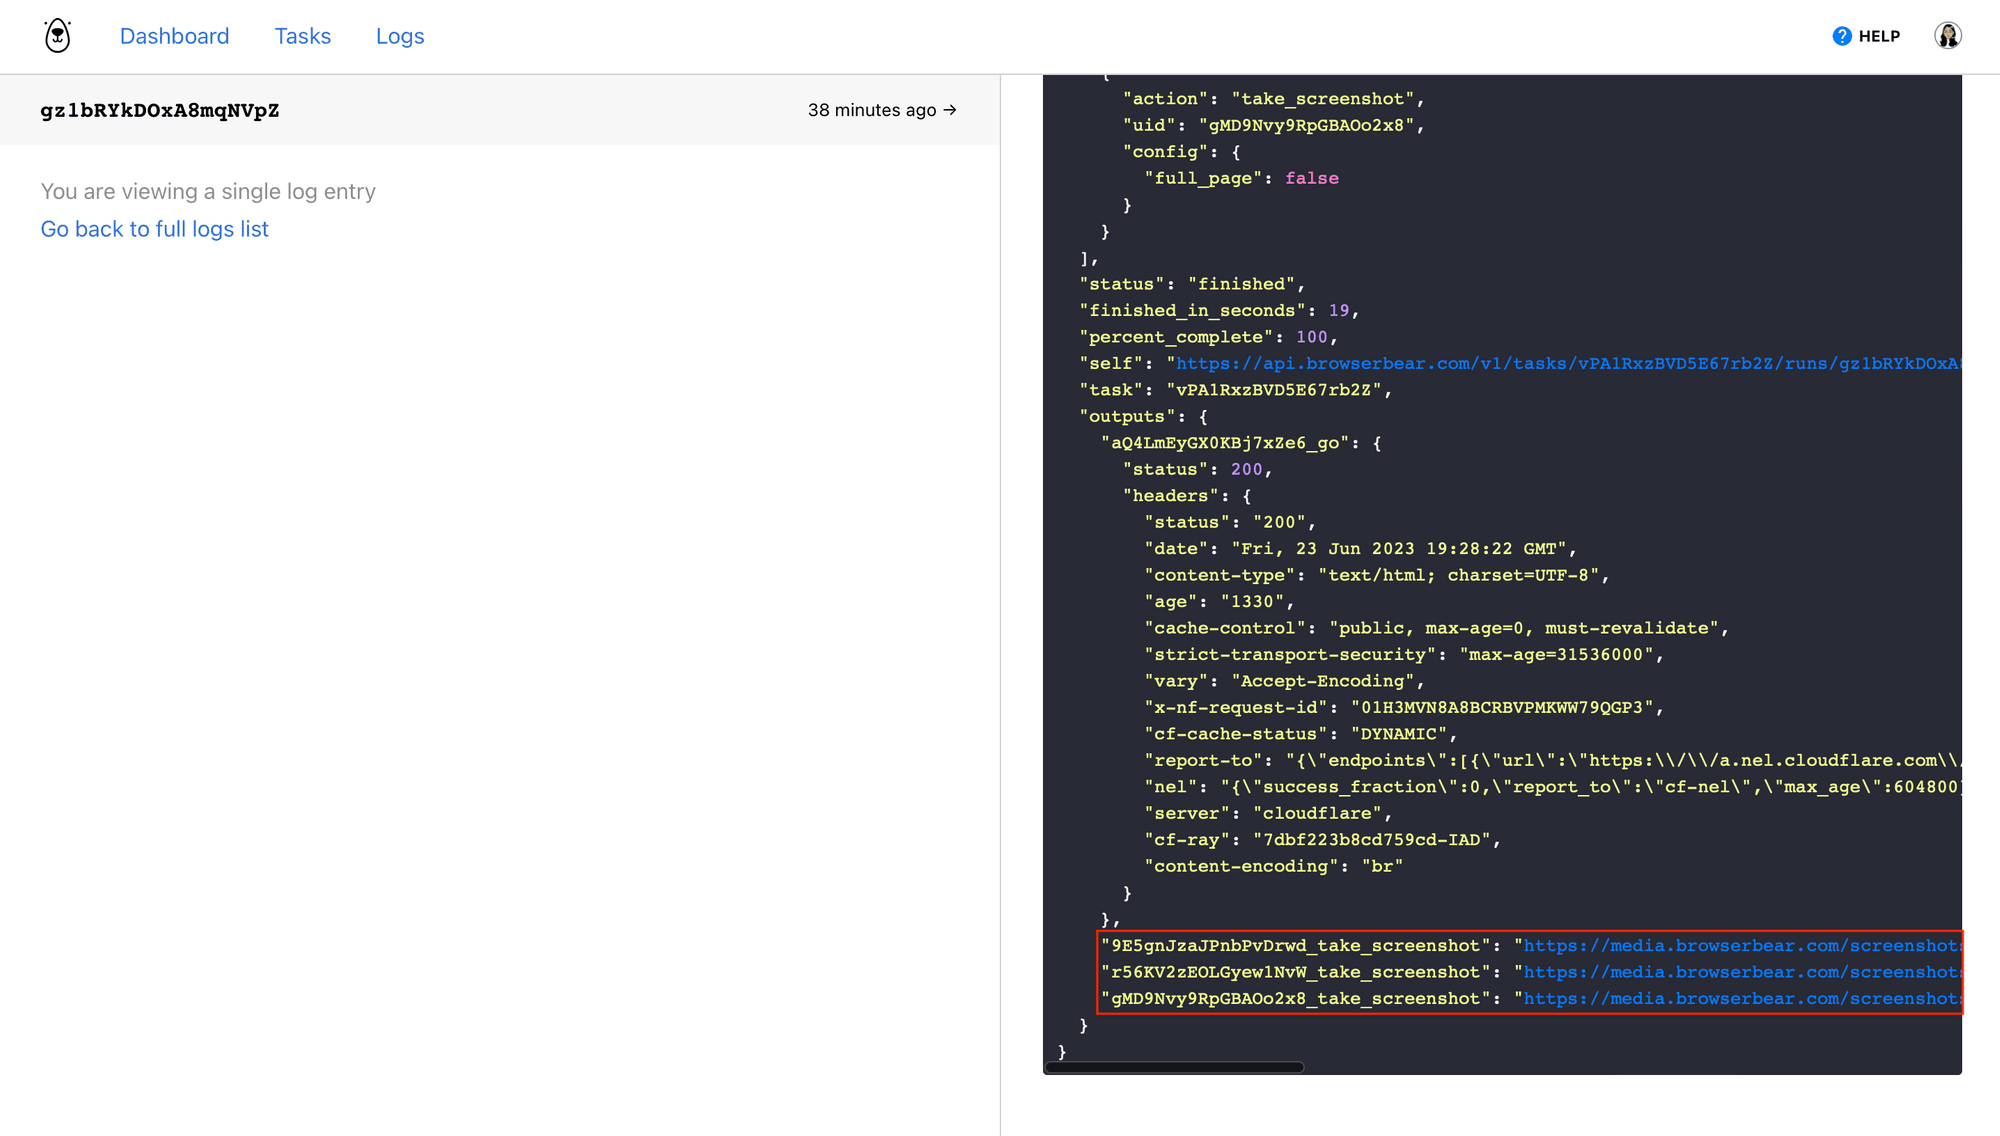
When running the action, you should be able to view the differently-sized screenshots in the log.
Bear Tip 🐻: Check out our article on how to take better screenshots with Browserbear to improve your web testing workflows!
Image Alt Text
Image “alt text” (or “alt tags”) are descriptions added to images on web pages. These contextualize visual material to enhance accessibility, search engine optimization (SEO), and user experience.
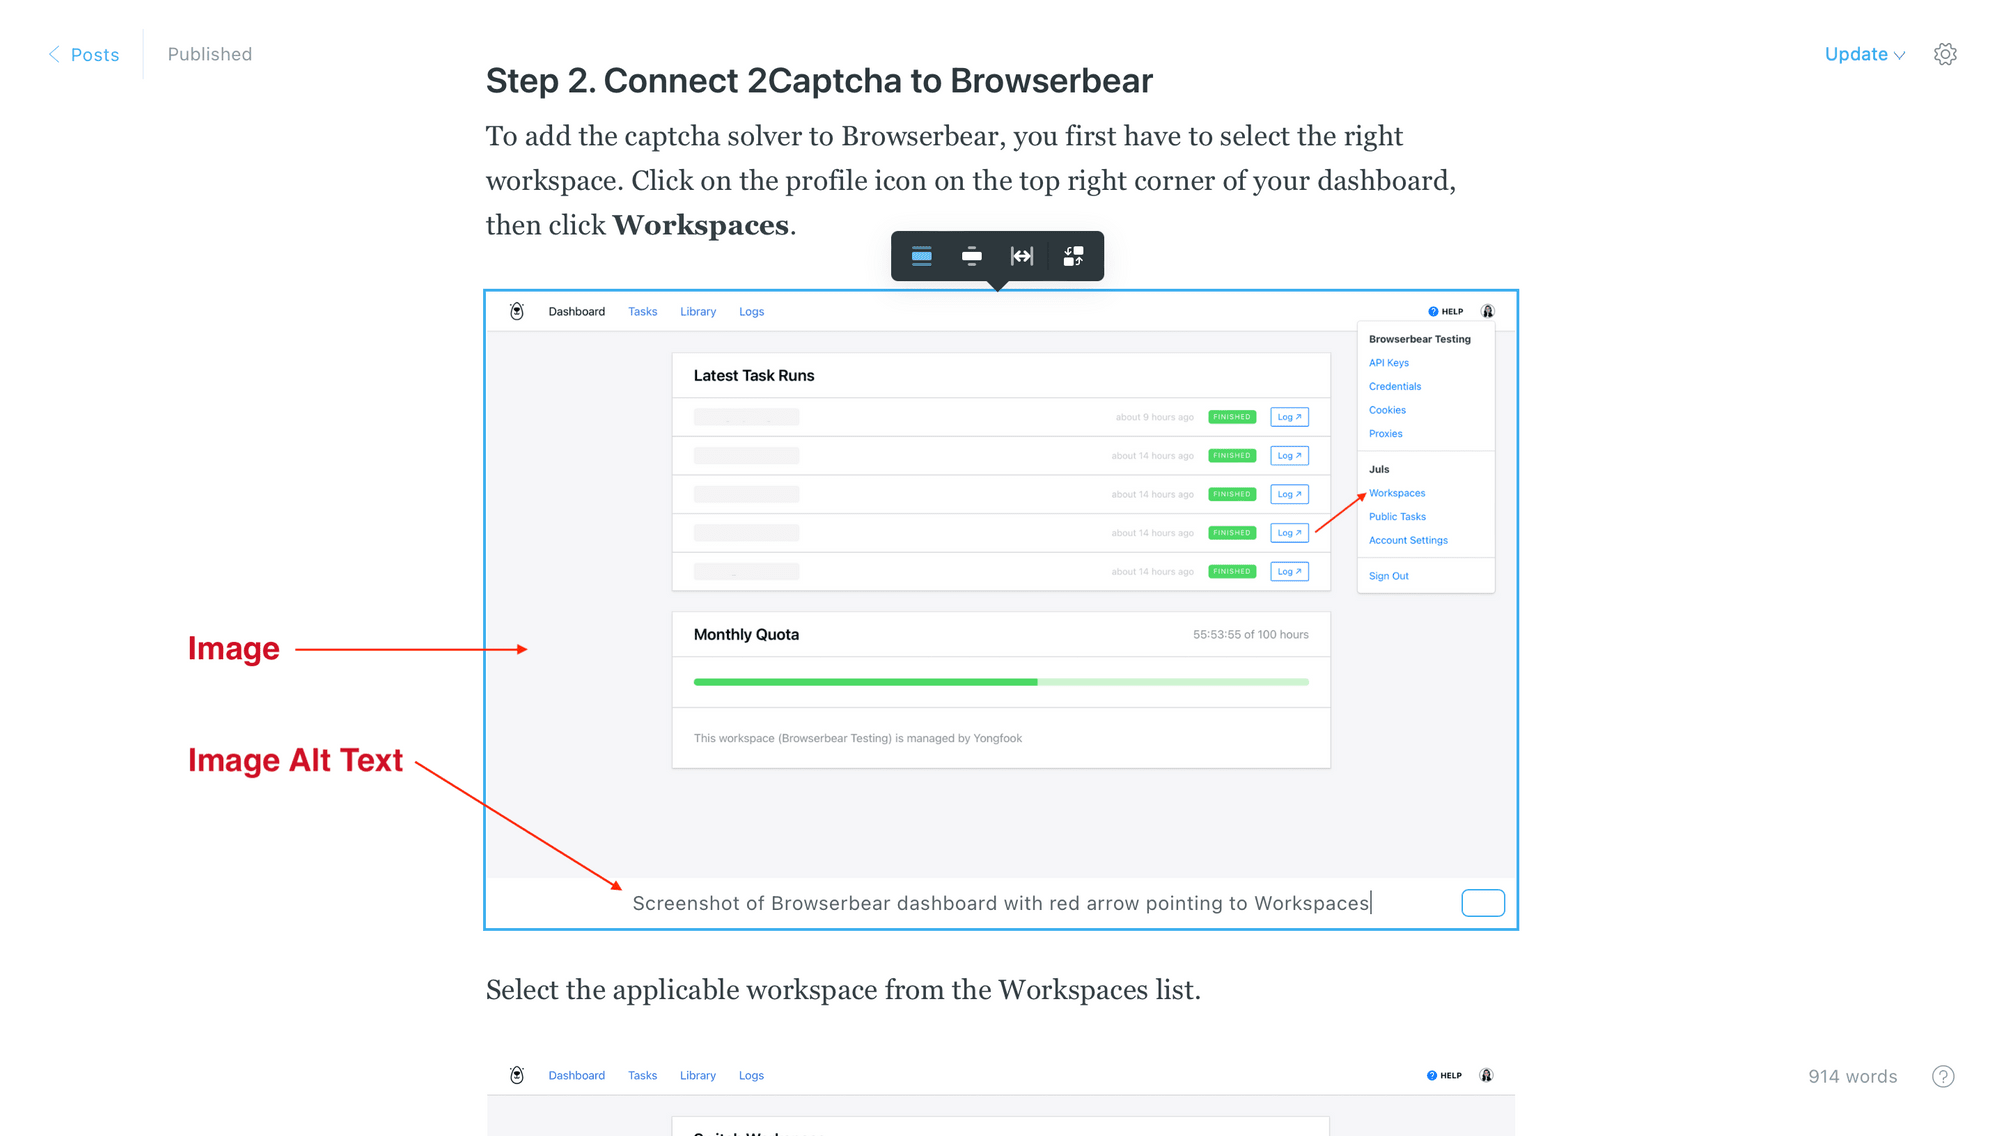
You can test for missing alt text quite easily by setting up a Browserbear task that loads newly published web pages, retrieves their titles, then scrapes source URLs and alt tags from any images in the body text. The workflow will look something like this:
Here are some tips for automating this test:
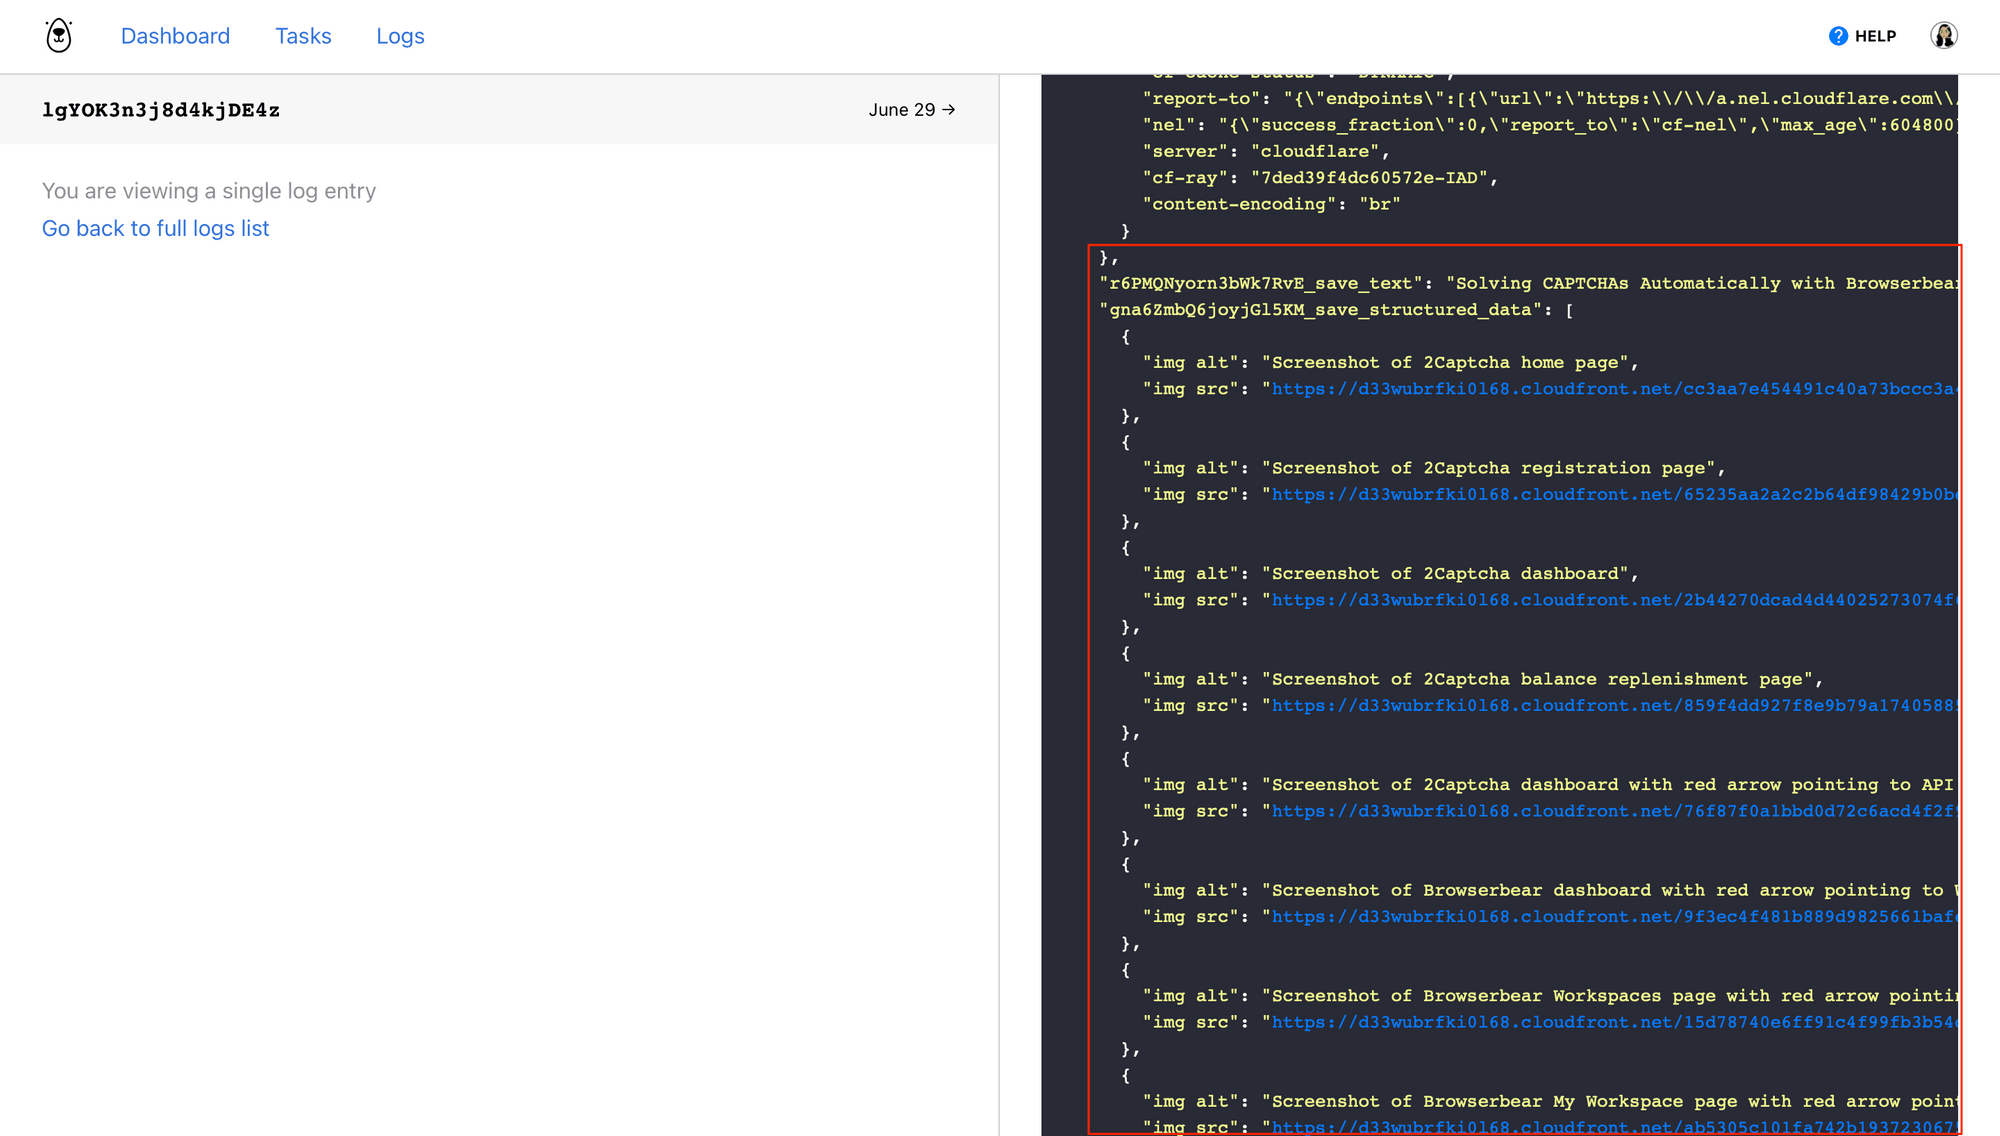
- Scrape the image source URLs and alt text in an array so you can easily see any items missing tags.
- Browserbear returns the text
nullfor any missing attributes. - You can integrate this task with other nocode tools to set up notifications when an image is missing alt text.
When you run the action, the output should yield title text and an array that pairs image source links to their corresponding alt tags.
Login Form Validation
Login form validation is an important part of website testing as it helps ensure that users can access the website securely. Since many websites and web apps have login validation processes that may be protecting sensitive information, it’s important to make sure they work correctly.
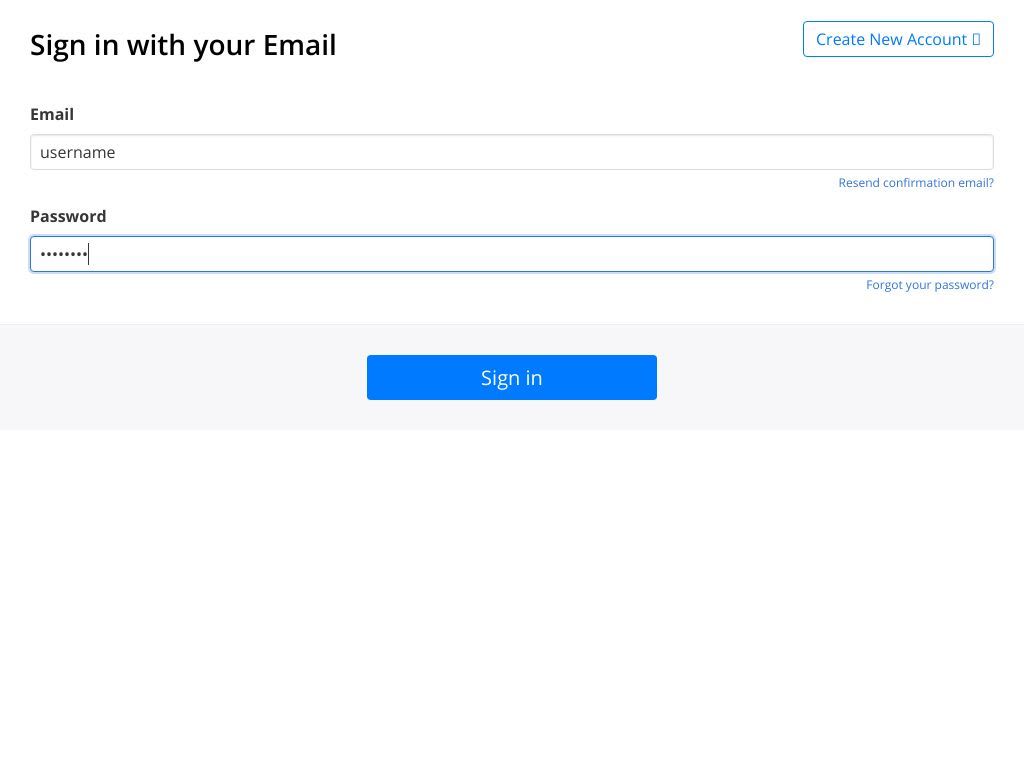
To test a login form with Browserbear, you need to set up steps that load the URL, fill username and password fields, and click the login button. This can be followed up with screenshot and assert actions that record results.
The exact steps to the task will depend on the login process of your site, but it should look something like this:
Here are a few tips:
- If your form requires time to load elements between clicks, you might need to add a wait or wait_for_selector step that holds off on the next step until the next element becomes visible.
- Combining the task with a larger workflow that feeds different login combinations to Browserbear and receives output will make it easier to set up tests and scan results.
- You can modify login combinations to test for different scenarios, such as invalid login attempts or password resets.
Running the action should yield a screenshot for each login combination and an assertion that reveals whether or not a login was successful.
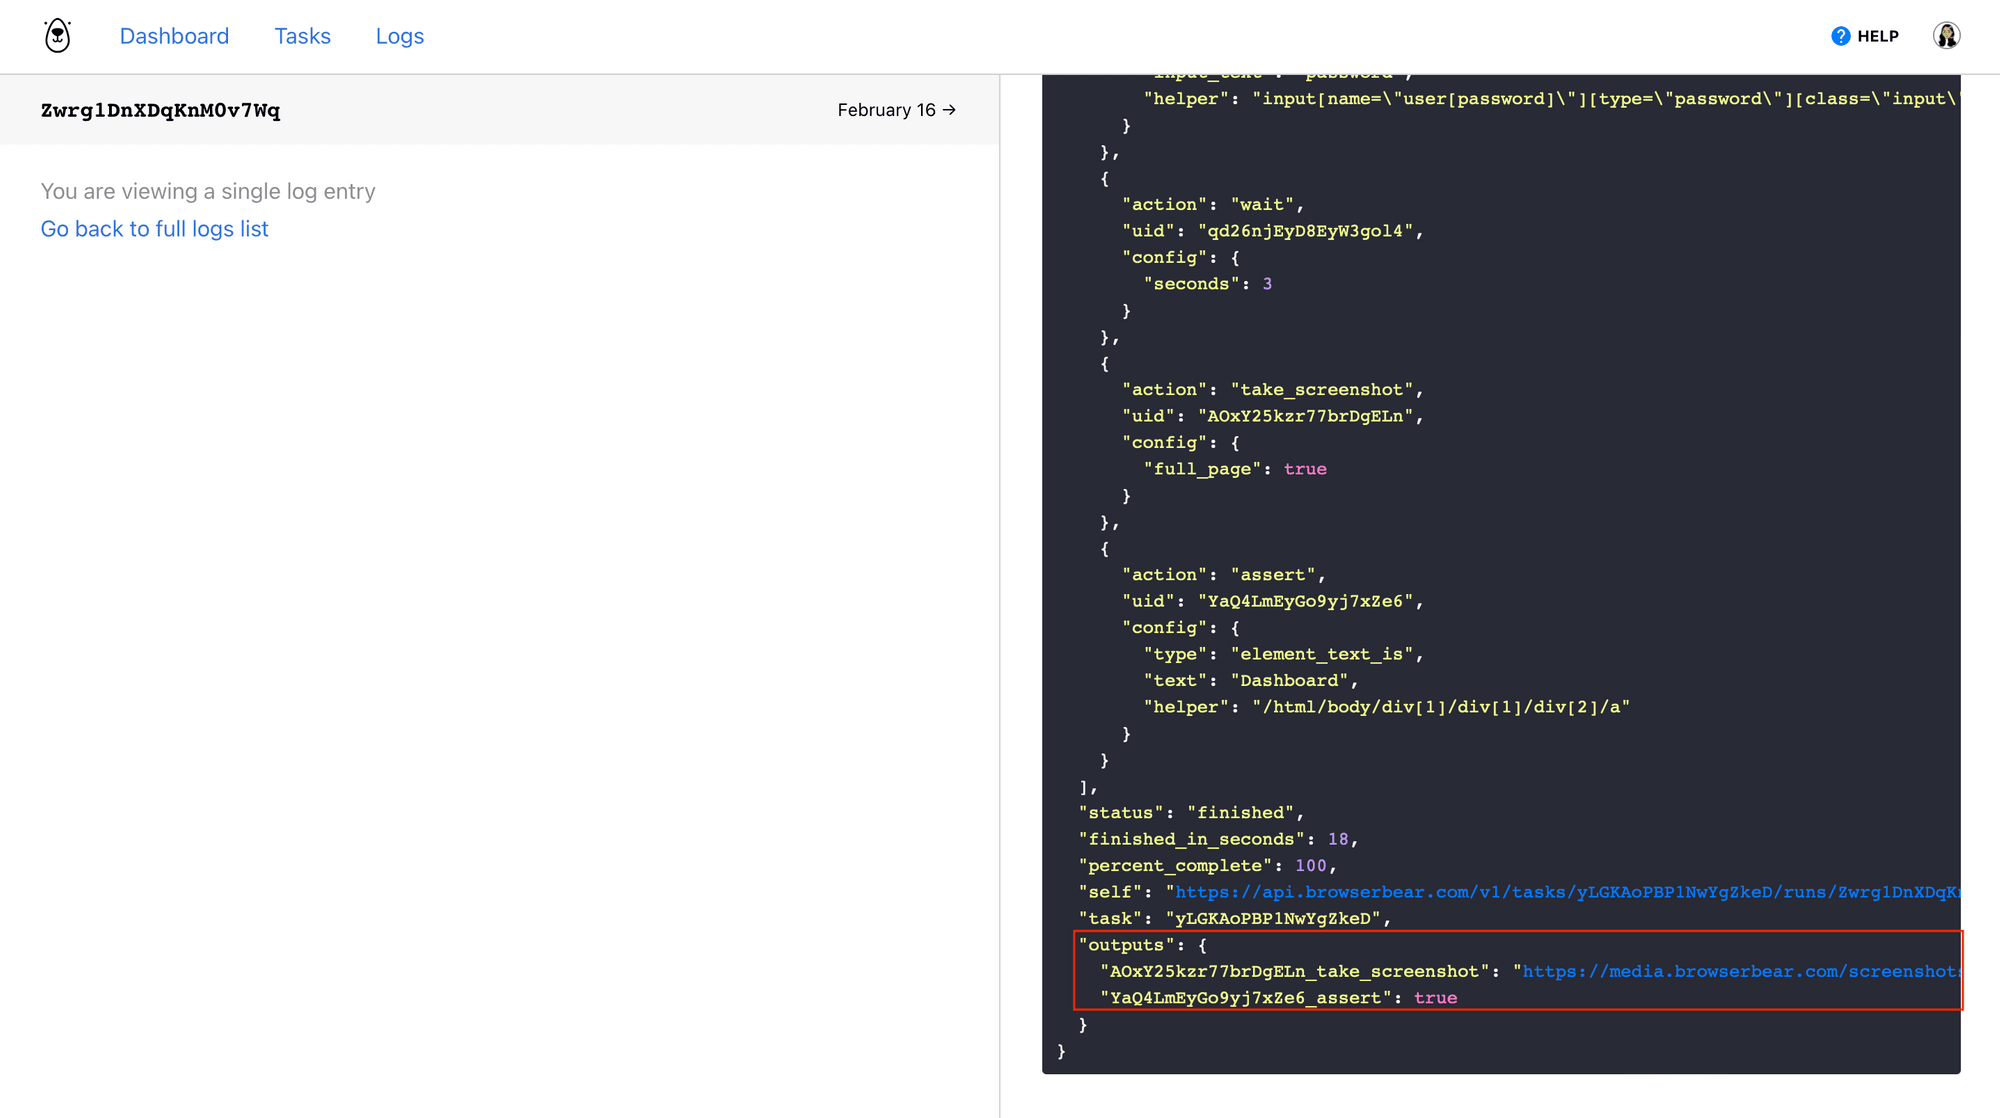
Bear Tip 🐻: Read our article on building automated web app login tests for a more detailed guide to this workflow.
Regional Accessibility
You can test your site’s functionality in various regions to pinpoint issues related to load times, content delivery, and internationalization that may impact global users.
One way to test whether your website can be accessed in a particular location is using a custom proxy. Browserbear offers this feature to simulate different geographic locations when loading a site.

You can run any Browserbear task through a proxy in the advanced settings menu. If you’re simply testing whether the website loads in a certain country, it’s just a matter of setting up actions to load a site, then taking a screenshot or using an assert to reveal the results.
Your task should look something like this:
When setting up the task, keep the following in mind:
- Browserbear offers built-in proxies for several geographic locations, but you can also use a custom proxy by providing an Identifier, Username, Password, and Server.
- Use proxies to test localization features like language, landing pages, load speed, and more.
- Check the Load extra fonts option in your Browserbear task settings when testing for localized languages.
- To automate the testing of many locations at once, set up identical tasks with different proxies. Then, use Zapier to trigger them on the same schedule.
Running the action should yield a screenshot and/or an assertion that declares whether the webpage was able to load.
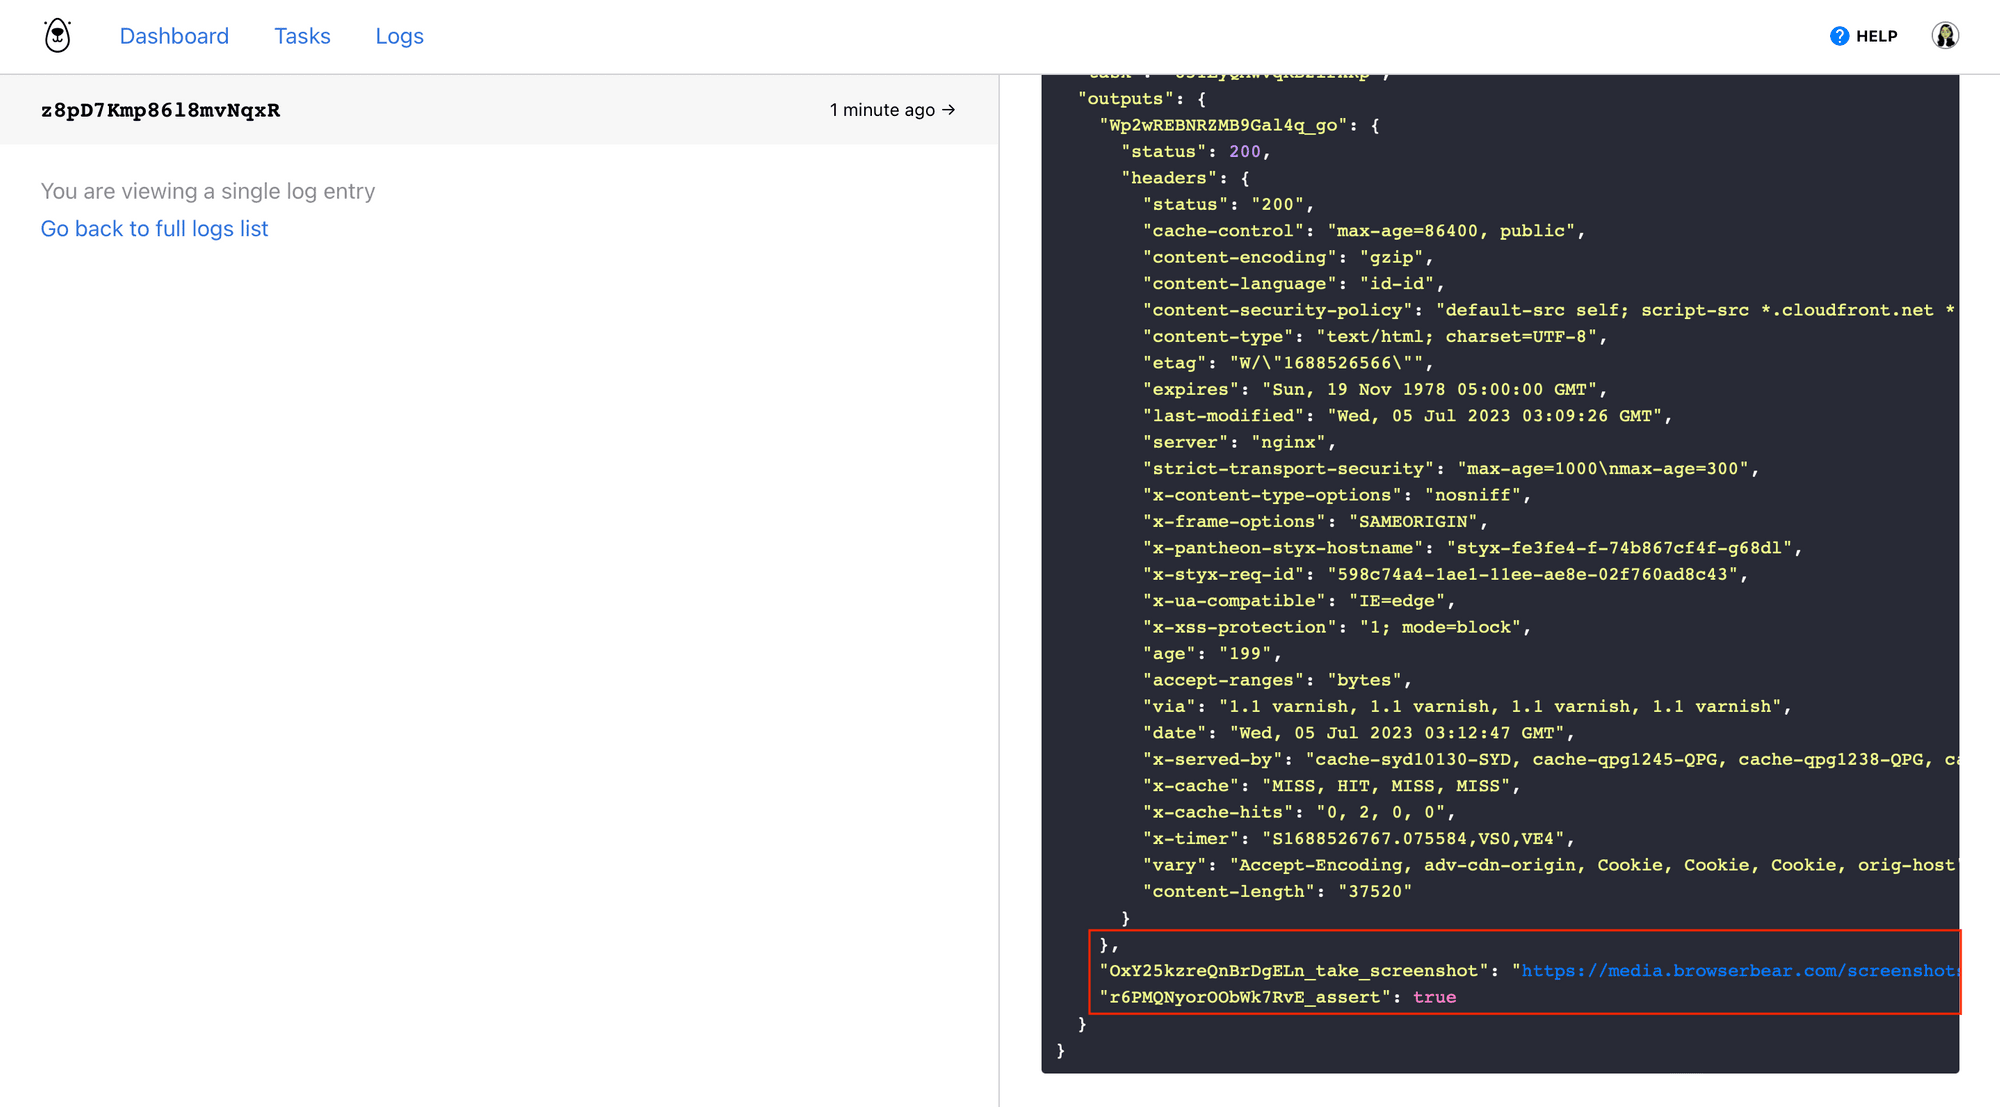
You can make adjustments to the task depending on what you're testing. Integrating it with a data management or spreadsheet app like Airtable can also help you view results more easily and address issues as they reveal themselves.
Use Automation to Test a Variety of Conditions at Once
Automation’s primary purpose is to take repetitive, predictible tasks off your plate. Tests for website responsiveness, login form validation, regional accessibility, and more are crucial to the development process yet require a lot of effort if performed manually.
Using Bannerbear to reduce the burden of website testing can save you a lot of time and energy while ensuring your product is able to deliver a positive user experience. The best part is: because the tool is able to simulate pretty much any action a human user performs, there is a world of opportunity when it comes to the things you can do!


