Mastering Puppeteer: 7 Tips and Tricks for Effortless Web Automation
Contents
Puppeteer, being an open-source Node.js library that offers a comprehensive API for controlling the web browser, has enabled developers to perform various automated tasks on the browser. However, despite its robust capabilities, you may encounter challenges that could disrupt your workflow. For example, web scraping tasks may be complicated when HTML elements on a dynamic page load asynchronously. This can lead to issues where elements are not readily available for interaction, resulting in errors.
Furthermore, Puppeteer's automation capabilities can sometimes trigger security mechanisms on websites, leading to IP blocking or CAPTCHA challenges. These obstacles can disrupt your automation workflows. In this article, we will provide you with some practical tips to overcome these common obstacles and enhance the effectiveness of Puppeteer in your web automation projects.
What is Puppeteer
Puppeteer is an open-source Node.js library that provides a high-level API to control Chrome or Chromium over the DevTools Protocol. It can be used to run the Chrome/Chromium browser in headless mode to automate the browser and perform various tasks, such as navigating to URLs, interacting with elements on a page, and capturing screenshots.
Some key features of Puppeteer include headless execution, full control over the browser, access to the Chrome DevToolsProtcol, etc. Although it is developed to be run on Chrome, the collaboration between Puppeteer and Mozilla to support cross-browser testing coverage for developers has made Puppeteer available on Firefox too from version 2.1.0 onwards.
Uses Cases of Puppeteer
Puppeteer can be used for various tasks where you need to automate interactions with a web page or control a headless browser. Some common use cases include:
- Web scraping: Web scraping is a way to automatically extract data and information from a website using automated applications. Puppeteer can navigate through web pages, interact with elements, and extract data from them.
- Automated testing: Puppeteer can simulate user interactions on browsers such as clicking buttons, filling forms, and verifying results. This makes it useful for regression testing and ensuring the quality of web applications.
- Automated form filling: You can also use Puppeteer to fill out forms on websites automatically, which can be useful for tasks like submitting contact forms, signing up for newsletters, or completing surveys.
- Web monitoring and alerting: Puppeteer can be used to periodically check websites and take action based on the results, e.g., monitoring websites for changes or specific conditions and sending alerts when certain criteria are met.
- Performance monitoring: Puppeteer can be used to automate the process of loading pages and collecting performance data, such as load times, resource usage, and rendering performance.
Puppeteer Tips and Tricks
While Puppeteer is a powerful tool for controlling the Chrome browser for various automated tasks, here are some tips and tricks to help you make the most of Puppeteer:
Tip 1. Wait for a Complete Page Load
Web pages often load asynchronously, meaning that some elements may not be immediately available when the page first loads. If you try to interact with an element that is not yet present on the page, your script may throw an error, resulting in unexpected behavior or failure. By using page.waitForSelector, you can wait for the element to appear on the page before proceeding with your script, ensuring that your interactions occur at the right time and reducing the risk of errors.
The example below waits for an HTML element with the class .js-result before proceeding with the next step:
const browser = await puppeteer.launch();
const page = await browser.newPage();

page.waitForSelector('.js-result')
    .then(() => console.log('The target element is loaded.'));
To further ensure the element has been loaded completely, set visible to true:
await page.waitForSelector('.js-result', {visible: true})
It's a good practice to always wait for elements to be ready before interacting with them. This makes your scripts more robust and reliable, especially when dealing with dynamic content or slower-loading pages.
Tip 2. Use Rotating IPs to Avoid Being Blocked
When using Puppeteer to visit a website, you might encounter being blocked due to various reasons. One of them is the implementation of rate-limiting. They might block or restrict your access if they detect too many requests coming from the same IP address in a short period. This is often seen as suspicious behavior and can trigger a block.
To avoid this problem, use rotating IPs. You can use a proxy server to rotate IP addresses. Proxy services that provide auto-rotating IP addresses include Froxy, ProxyMesh, Oxylabs, etc. After regisetering with a proxy service, you can launch a browser on the proxy server when using Puppeteer:
const browser = await puppeteer.launch({
	args: [
		'--proxy-server=YOUR_PROXY_URL'
	]
});
🐰 Hare Hint: If using a proxy is not an option, try introducing delays between your requests to mimic human behavior.
Tip 3. Use a User Agent to Avoid Being Blocked
Besides rate-limiting, some websites also check requests’ user-agent and block requests from known headless browser automation tools. By setting a custom user agent that matches a popular browser (e.g., Chrome, Firefox), your requests appear more like those from a real user, which can help avoid detection.
Here’s how to use the userAgent option in page.setUserAgent to set a custom user-agent string that mimics a real browser:
const browser = await puppeteer.launch();
  const page = await browser.newPage();

  await page.setUserAgent('YOUR_USER_AGENT');
Here are some examples of user agents:
Mozilla/5.0 (Windows NT 10.0; Win64; x64) AppleWebKit/537.36 (KHTML, like Gecko) Chrome/90.0.4430.212 Safari/537.36Mozilla/5.0 (Windows NT 10.0; Win64; x64; rv:88.0) Gecko/20100101 Firefox/88.0Mozilla/5.0 (Windows NT 10.0; Win64; x64) AppleWebKit/537.36 (KHTML, like Gecko) Chrome/58.0.3029.110 Safari/537.36 OPR/45.0.2552.898
Depending on the website that you’re visiting, you might need to try different user agents to find which works.
Tip 4. Disable CSS, Images, and Other Unneeded Resources to Speed up Puppeteer
By not loading CSS, images, and other resources, Puppeteer has less data to download, reducing the time it takes to fetch resources over the network. The browser can render the page faster and can be beneficial for performance testing or scraping tasks where speed is critical.
To disable these unnecessary recourses, you can intercept the HTTP requests sent by the browser and block any network that is requesting them:
await page.setRequestInterception(true);

page.on('request', (request) => {
    if (['image', 'stylesheet', 'font'].indexOf(request.resourceType()) !== -1) {
        request.abort();
    } else {
        request.continue();
    }
});
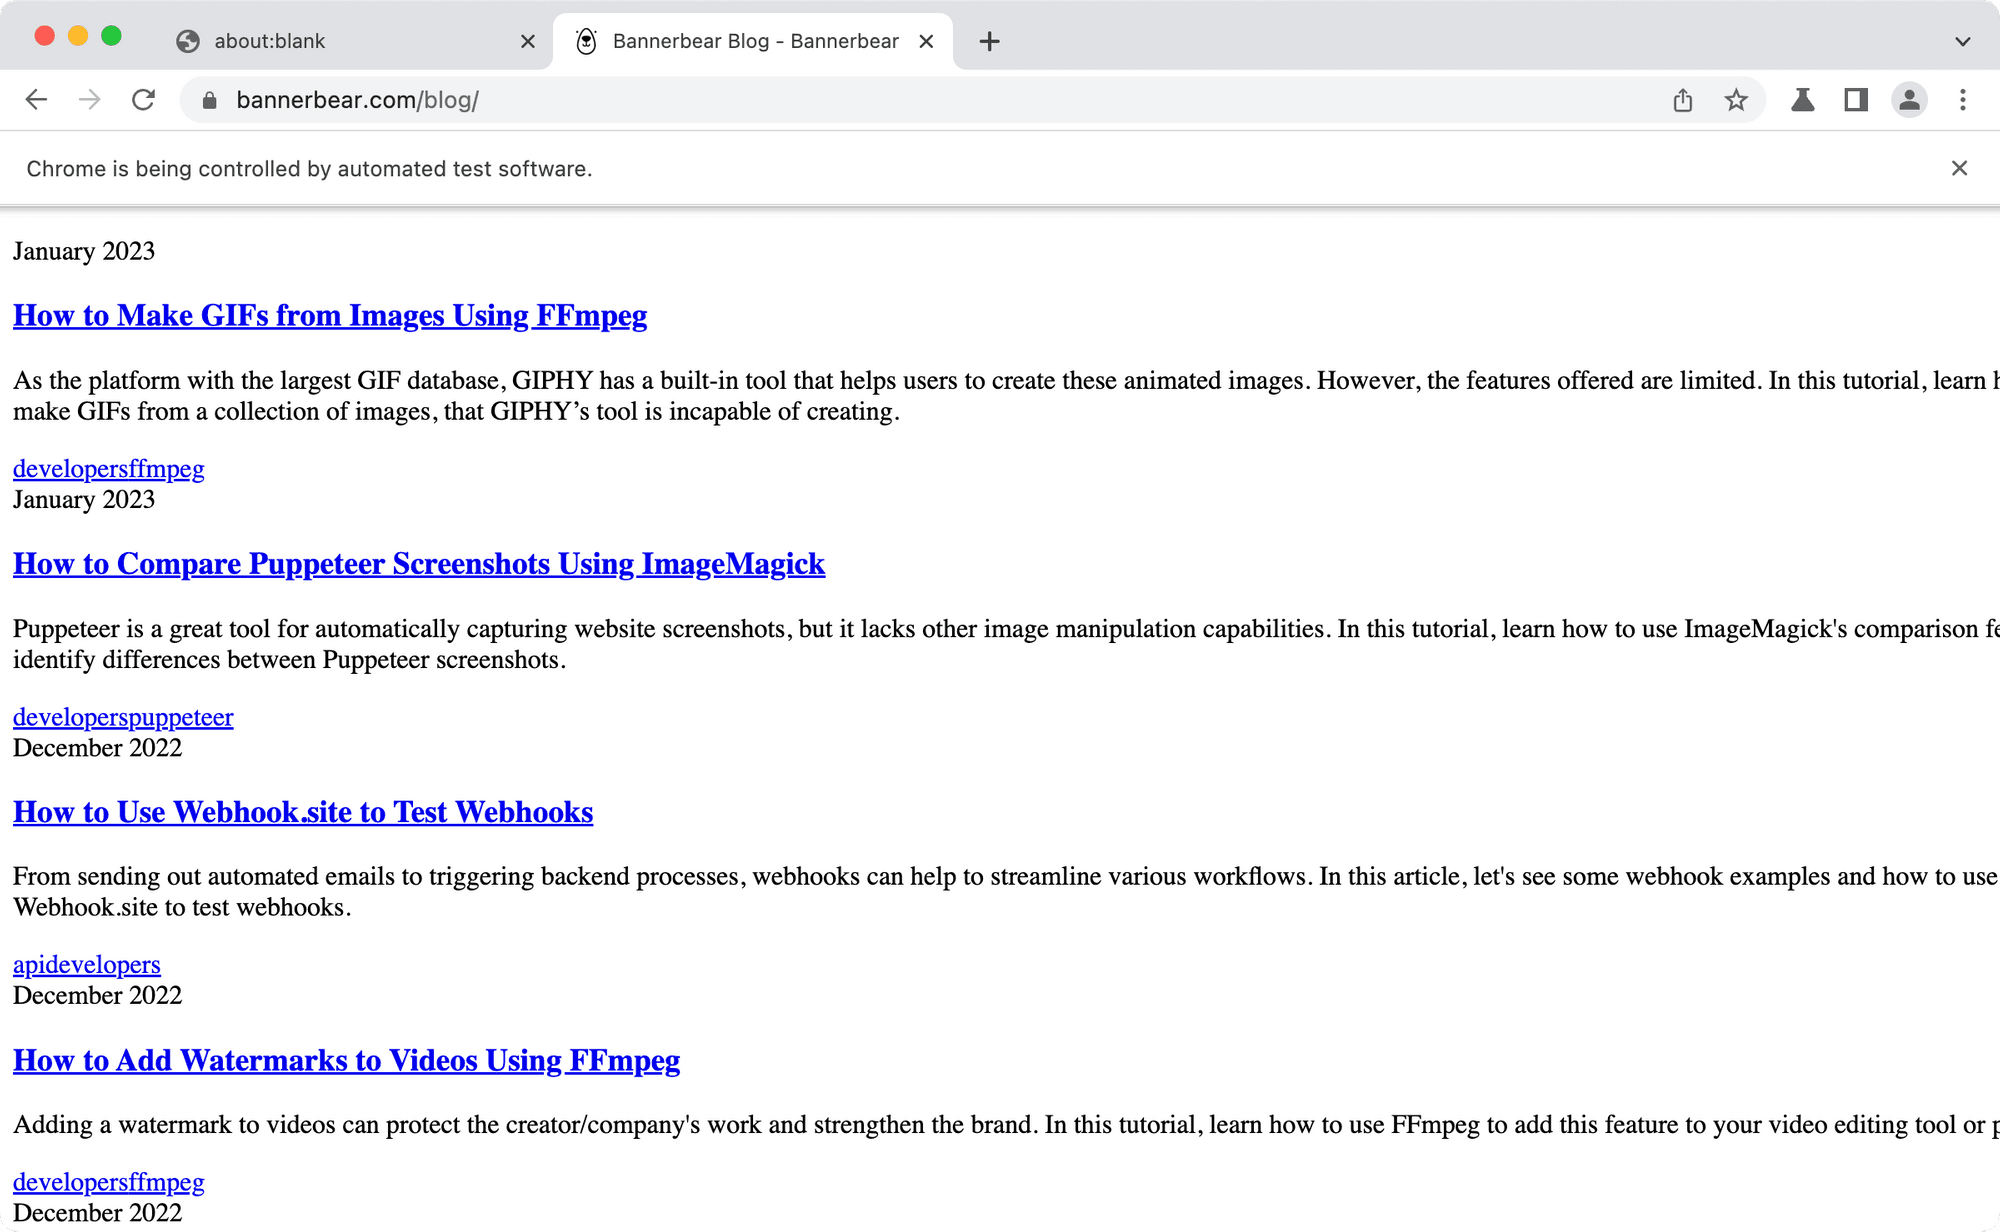
This will load the page with only HTML:
If you see ERR Failed to load resource: net::ERR_FAILED in the browser’s console, you can fulfill the aborted requests with a 200 status to avoid the error:
if (['image', 'stylesheet', 'font'].indexOf(request.resourceType()) !== -1) {
      request.respond({status: 200, body: 'aborted'})
  }
Tip 5. Use Session Cookies to Skip the Login Page
If you need to scrape or crawl data that requires authentication, skipping the login page can save you time. Instead of logging in using Puppeteer, log in manually on your Chrome browser. Then, export the session cookies to a JSON file using the cookies export extension and use it in your code.
As Puppeteer has the Page.setCookie() method, you can use the same logged-in session. This will help you navigate to the password-protected URL directly as long as the session is valid:
const cookiesString = fs.readFileSync('cookies.json');
const parsedCookies = JSON.parse(cookiesString);

if (parsedCookies.length !== 0) {
    for (let cookie of parsedCookies) {
    	await page.setCookie(cookie);
    }
}

await page.goto("password-protected-url", { waitUntil: 'networkidle0' });
You can also do this when you need to run the script multiple times or run different scripts on the website.
If you’re using Puppeteer to log in, you can retrieve the browser cookies using page.cookies() after logging in. Save them as a JSON file in your specified directory and you can use them for subsequent script runs:
const cookiesObject = await page.cookies();

fs.writeFile('cookies.json', JSON.stringify(cookiesObject), function (err) {
  if (err) {
    console.log('The session could not be saved.', err);
  }
  console.log('The session has been saved successfully.');
});
Tip 6. Reinstall Puppeteer for Cross-Browser Testing
Cross-browser testing is an important practice of testing to make sure that the code works across various browsers. You can use Firefox for Puppeteer by specifying it in the product property:
const browser = await puppeteer.launch({
	product: 'firefox'
  });
However, when you install Puppeteer, only Chromium is installed. Even though you have specified firefox for the product property, it will launch Chromium. Therefore, you need to delete the /node_modules/puppeteer folder and reinstall Puppeteer with the product specified as Firefox:
PUPPETEER_PRODUCT=firefox npm i
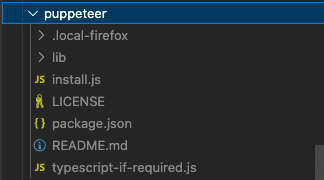
This will install Firefox in the /node_modules/puppeteer folder:
Tip 7. Use Headless Mode to Optimize Performance
Using headless mode in Puppeteer can improve performance and reduce resource usage. Headless mode runs without a graphical user interface (GUI), which means it doesn't need to render the webpage visually. This reduces the amount of processing power and memory required compared to running in a regular browser with a GUI, making script execution faster.
Due to fewer resources used, headless mode can also make Puppeteer more scalable as multiple instances can be run in parallel. It is particularly advantageous for server-side tasks where the GUI is not needed, offering better scalability and efficiency.
Conclusion
Puppeteer is a valuable tool for automating web browser interactions and performing various web-related tasks. Whether you’re using it for web scraping, automated testing, event monitoring, or other tasks, I hope that the tips and tricks shared in this article help you make the most out of Puppeteer in your projects!