How to Use Puppeteer in AWS Lambda for Web Scraping via Serverless
Contents
Puppeteer is a versatile Node.js library created by Google that offers a high-level API for controlling Chrome or Chromium browsers. It's especially useful for automating browser-based tasks, handling repetitive actions, and extracting data from websites.
With Puppeteer, you can programmatically interact with web pages, fill out forms, navigate through websites, and extract information with ease. It offers a robust suite of features, including running Chrome in headless mode (without a graphical user interface), simulating user interactions, capturing screenshots, and handling dynamic content on JavaScript-heavy sites.
Integrating Puppeteer with AWS Lambdalets you run automation tasks, including web scraping in a serverless environment, which helps you scale and manage costs more effectively. In this guide, we'll show you how to use Puppeteer in AWS Lambda to streamline and enhance your automation processes, using the Serverless framework.
What is AWS Lambda
AWS Lambda is a serverless computing service offered by Amazon Web Services (AWS). It lets you run code in response to events but eliminates the need to manage your own infrastructure. All you need to do is write a script and upload it as a .zip file or container image to AWS Lambda.
Here's what AWS Lambda offers:
- Serverless - You don't need to manage the underlying infrastructure. Your application still runs on servers, but all the server management is done by AWS.
- Automatic scaling - AWS Lambda automatically scales up or down based on the number of incoming requests. There's no need to manually adjust server capacity.
- Pay-as-you-go pricing - You only pay for the number of requests and the compute time you use, billed by the millisecond. There are no charges for idle time.
- Wide language support - You can write your code in Java, Go, PowerShell, Node.js, C#, Python, and Ruby. If you need to use a different language, the Runtime API allows for that as well.
The code you run on AWS Lambda is uploaded as a “Lambda function”. Each function has its own configuration details, including its name, description, entry point, and resource requirements.
🐰 Hare Hint: The code must be written in a “stateless” style, meaning it should not rely on any previous interactions or stored data from prior executions.
Why Use Puppeteer in AWS Lambda
AWS Lambda’s serverless architecture makes deploying and scaling your Puppeteer tasks easier by eliminating the need to manage the underlying infrastructure. This speeds up development cycles and helps new features to be shipped faster. Additionally, AWS Lambda automatically scales to accommodate high volumes of concurrent requests and charges only for the compute time you use. This can be more cost-effective than maintaining a traditional server, especially for sporadic tasks like web scraping, price tracking, and capturing website screenshots.
AWS Lambda not only saves costs but also comes with a scheduling tool. You can trigger functions at regular intervals (e.g., every hour) or at specific times (e.g., 8:00 a.m. PST) using Amazon EventBridge (formerly CloudWatch Events). We’ll dive deeper into this in the later section.
Pre-requisites
For this tutorial, you will need:
- Basic knowledge of AWS Lambda and the Serverless Framework
- An AWS account
- Node.js, npm, and serverless installed on your local machine
🐰 Hare Hint: Follow the official guide to link your Serverless and AWS accounts.
How to Use Puppeteer in AWS Lambda via Serverless
Step 1. Set Up Your Serverless Project
Create a Serverless project by running the command below in your terminal/command line:
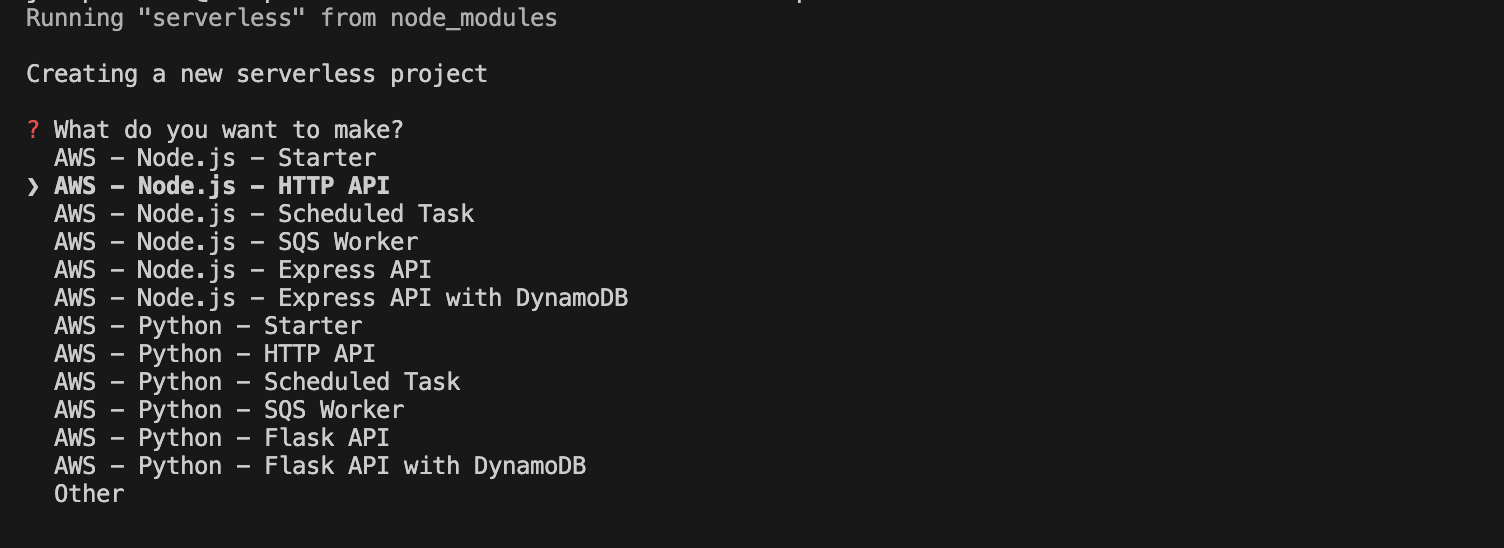
serverless
You will be prompted to choose one of the Serverless templates. Nagivate to AWS - Node.js - HTTP API and press enter:
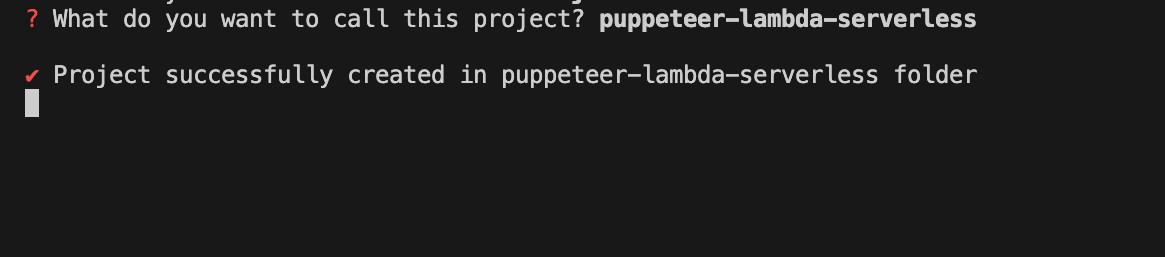
Enter a name for the project:
Add the project to your organization in Serverless:

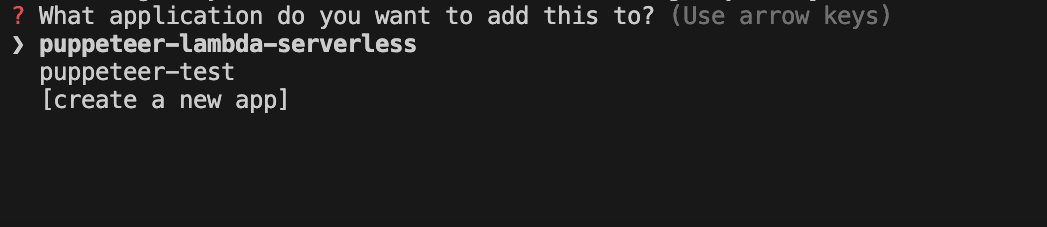
Finally, add the project to an existing app that you have created from your Serverless dashboard or create a new one:
Choose either of the options (Y/n) when you’re prompted to deploy the project to Serverless.
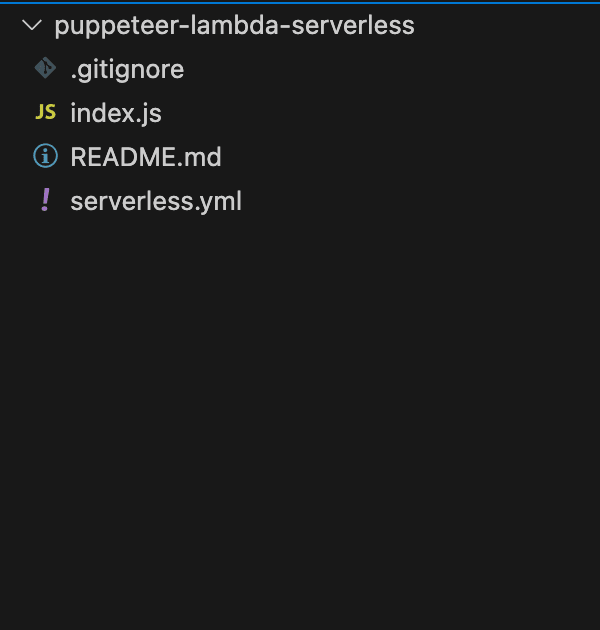
A folder should be created for the project, with .gitignore, index.js, README.md, and serverless.yml files inside:
Next, navigate to your project folder, initialize a new Node.js project, and install the puppeteer-core and @sparticuz/chromium libraries:
cd puppeteer-lambda-serverless
npm init
npm install puppeteer-core @sparticuz/chromium@126
🐰 Hare Hint: Check Puppeteer’s documentation to find the compatible version of
@sparticuz/chromiumfor your Puppeteer version.
Step 2. Configure Your Lambda Function
The serverless.yml file is the main configuration file for the Serverless Framework. It defines the service, functions, and resources for your project. Update this file by setting a timeout of 10 seconds (default is 6) and including files from the node_modules folder in the deployment package:
org: your-organization-name
app: puppeteer-lambda-serverless
service: puppeteer-lambda-serverless
frameworkVersion: '3'

provider:
  name: aws
  runtime: nodejs18.x
  timeout: 10

package:
  include:
    - node_modules/**

functions:
  api:
    handler: index.handler
    events:
      - httpApi:
          path: /
          method: get
🐰 Hare Hint: The
node_modulesfolder holds all the dependencies required for your Lambda function.
In the functions section of the configuration file, you'll define your Lambda function and set up its trigger. The handler specifies which function from the index.js file will run when the Lambda function is invoked. In the events section, you'll specify the event that triggers the Lambda function.
In our configuration file, a Lambda function named api is defined. This function will execute the handler() function from index.js whenever a GET request is made to the / endpoint.
functions:
  api:
    handler: index.handler
    events:
      - httpApi:
          path: /
          method: get
Step 3. Write the Handler Script
The index.js file serves as the entry point for your AWS Lambda functions, also known as the handler script. It contains the code that runs when your function is triggered.
At the beginning of the file, start by importing @sparticuz/chromium and puppeteer-core. Then, in the handler() function, add the following code to perform a simple task with Puppeteer—visiting a website and returning its title:
const chromium = require("@sparticuz/chromium");
const puppeteer = require('puppeteer-core');

module.exports.handler = async (event) => {
  let browser = null;
  let page = null;
  try {

    const browser = await puppeteer.launch({
      args: chromium.args,
      defaultViewport: chromium.defaultViewport,
      executablePath: await chromium.executablePath(),
      headless: chromium.headless,
    });

    page = await browser.newPage();
    await page.goto('https://www.roborabbit.com');
    const title = await page.title();

    console.log(title);

    return {
      statusCode: 200,
      body: JSON.stringify(
        {
          result: title,
          input: event,
        },
        null,
        2
      ),
    };
  } catch (error) {
    return {
      statusCode: 500,
      body: JSON.stringify({ error: error.message }),
    };
  } finally {
    if (page) {
      await page.close();
    }
    if (browser) {
      await browser.close();
    }
  }
};
Step 4. Deploy the Function
Run the following command to deploy your function to AWS Lambda using Serverless:
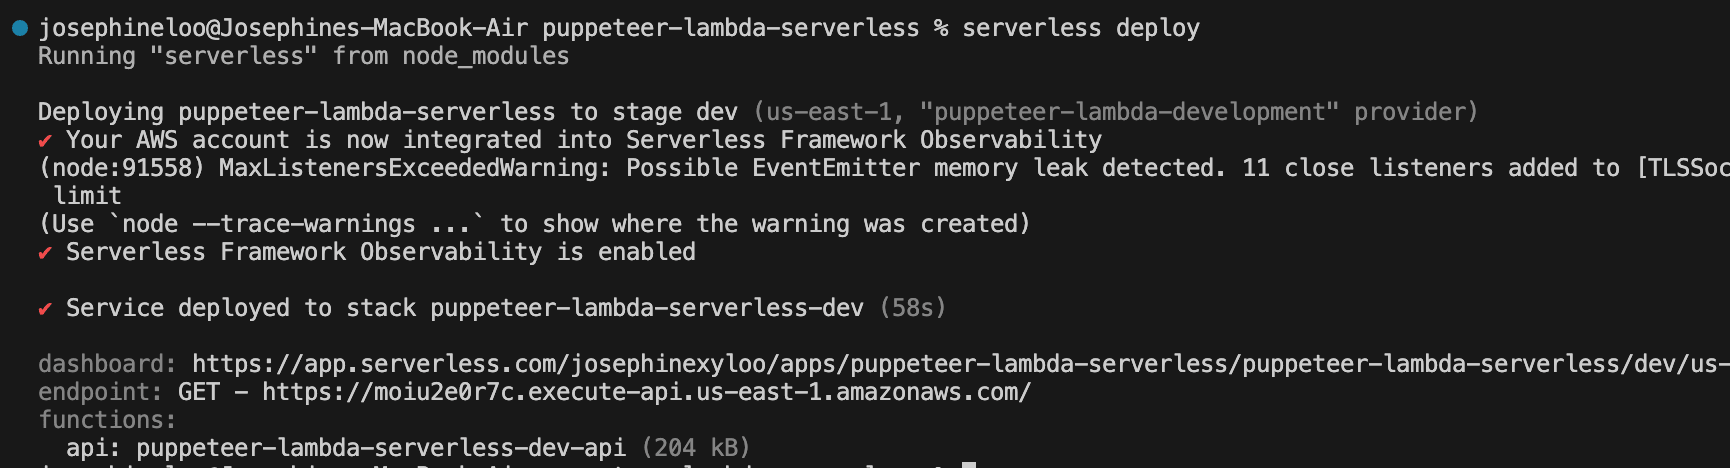
serverless deploy
The output will include details about your deployed service, including a link to your app on the Serverless dashboard and the function’s API Gateway endpoint:
Step 5. Test Your Function
Use the endpoint URL to test your Lambda function. You can make a GET request to the endpoint using tools like curl, Postman, or even a web browser:
curl https://your-api-id.execute-api.region.amazonaws.com/
You should receive a JSON response containing the result:

That’s how to use Puppeteer in AWS Lambda via Serverless! You can customize the code to perform additional tasks with Puppeteer, such as scraping data from multiple pages, capturing website screenshots, downloading images, and more.
🐰 Hare Hint: If you encounter an error, check your logs on AWS CloudWatch or your Serverless dashboard for debugging.
Automating Puppeteer in AWS Lambda
AWS lets you create rules or scheduled events that trigger Lambda functions at specified intervals or times. You can set your function to run at a regular rate by defining a rate expression:
rate(value unit)
…or at a specific time by defining a cron expression:
cron(fields)
To set up a scheduled event, set the trigger event to schedule: rate() or schedule: cron() in your configuration file:
functions:
  api:
    handler: index.handler
    events:
      - schedule: rate(5 minutes)
The configuration above will trigger the AWS Lambda function every 5 minutes, unlike the previous setup, which only triggered the function in response to a GET request to the specified endpoint.
Here’s a screenshot of the CloudWatch log showing the function running at 5-minute intervals:

Limitations of Using Puppeteer in AWS Lambda
AWS Lambda makes deploying a Puppeteer script straightforward and handles scaling automatically. However, it has a deployment package size limit of 50 MB, which can be a limitation for larger or more complex tasks.
An alternative is to use a tool like Roborabbit, which offers similar capabilities to Puppeteer in AWS Lambda but with an easier setup. It is a scalable, AWS-powered browser automation tool designed to simplify various browser-based tasks.
Roborabbit features a user-friendly interface that lets you create automated workflows and interact with web pages effortlessly. With Roborabbit, you can automate website testing, scrape website data, take scheduled screenshots for archiving, and more—without writing any code.
For example, here’s how you would set up a web scraping task in Roborabbit:
While Roborabbit provides a user-friendly no-code interface, it also offers REST APIs for developers who want to trigger their task programmatically or integrate it with their existing application or workflow. If you’re interested in trying it out, just click on the task above to sign up and add it to your project!