9 Top Browser Screenshot Automation Tools (For Coders and Nocoders)
Contents
Immortalizing the way a webpage looks at any point in time serves many purposes. Whether you’re a web designer, developer, marketer, or even someone working on a passion project, you might find it helpful to take screenshots.
But if your use case involves screenshots at regular intervals and higher frequencies, manual captures are both tedious and time-consuming.
That’s where automated browser tools come in.
Automated screenshot tools trigger on their own, and they often also deal with large volumes of captures and archiving. This can be fantastic for use cases such as:
- Web testing & monitoring
- Site archiving
- Competitor analysis
- Marketing campaign analysis
But with so many options on the market, how do you choose?
In this article, we’ll go over how to choose a browser screenshot automation tool and a few options you can consider.
How to Choose an Automated Screenshot Tool
There are several criteria to consider when selecting an automation tool, especially when it’s for a core business process. Since it is expected to run with minimal intervention, you want to choose something reliable and suited to your needs.
Here are some other things to evaluate in the selection process:
- Accuracy & reliability : Does the tool reliably yield the expected output? Does it capture all of the important elements without distorting the shot?
- Browser & system compatibility : Does the tool work across different browsers and operating systems?
- Customization options : Can you customize the output according to your needs (eg. viewport size, modal removal, file format, etc.)?
- Ease of use : Is the tool intuitive and come with sufficient documentation? Is it suitable for your level of technical proficiency?
- Integration options : Can the tool be integrated with other apps (eg. Zapier, Make, Google Drive, Dropbox, etc.) to create more comprehensive workflows?
- Security : Is the tool secure and committed to protecting user data?
- Pricing : Are pricing plans aligned with your needs (whether a pay-as-you-go, all-inclusive, or subscription model)? Is there a free trial?
- Support : Is there customer support to help you set up workflows and troubleshoot errors? Are there tutorials, documentation, and responsive agents on hand?
Choosing the best tool for your needs will help you save time, improve accuracy, and streamline processes.
9 Browser Screenshot Automation Tools to Choose From
There are several automatic screen capture tools available on the market, but each one has a different set of features that may or may not make them suited to your needs. Let’s break down nine popular options so you can select the best one for you:
Apify - Website Screenshot Generator
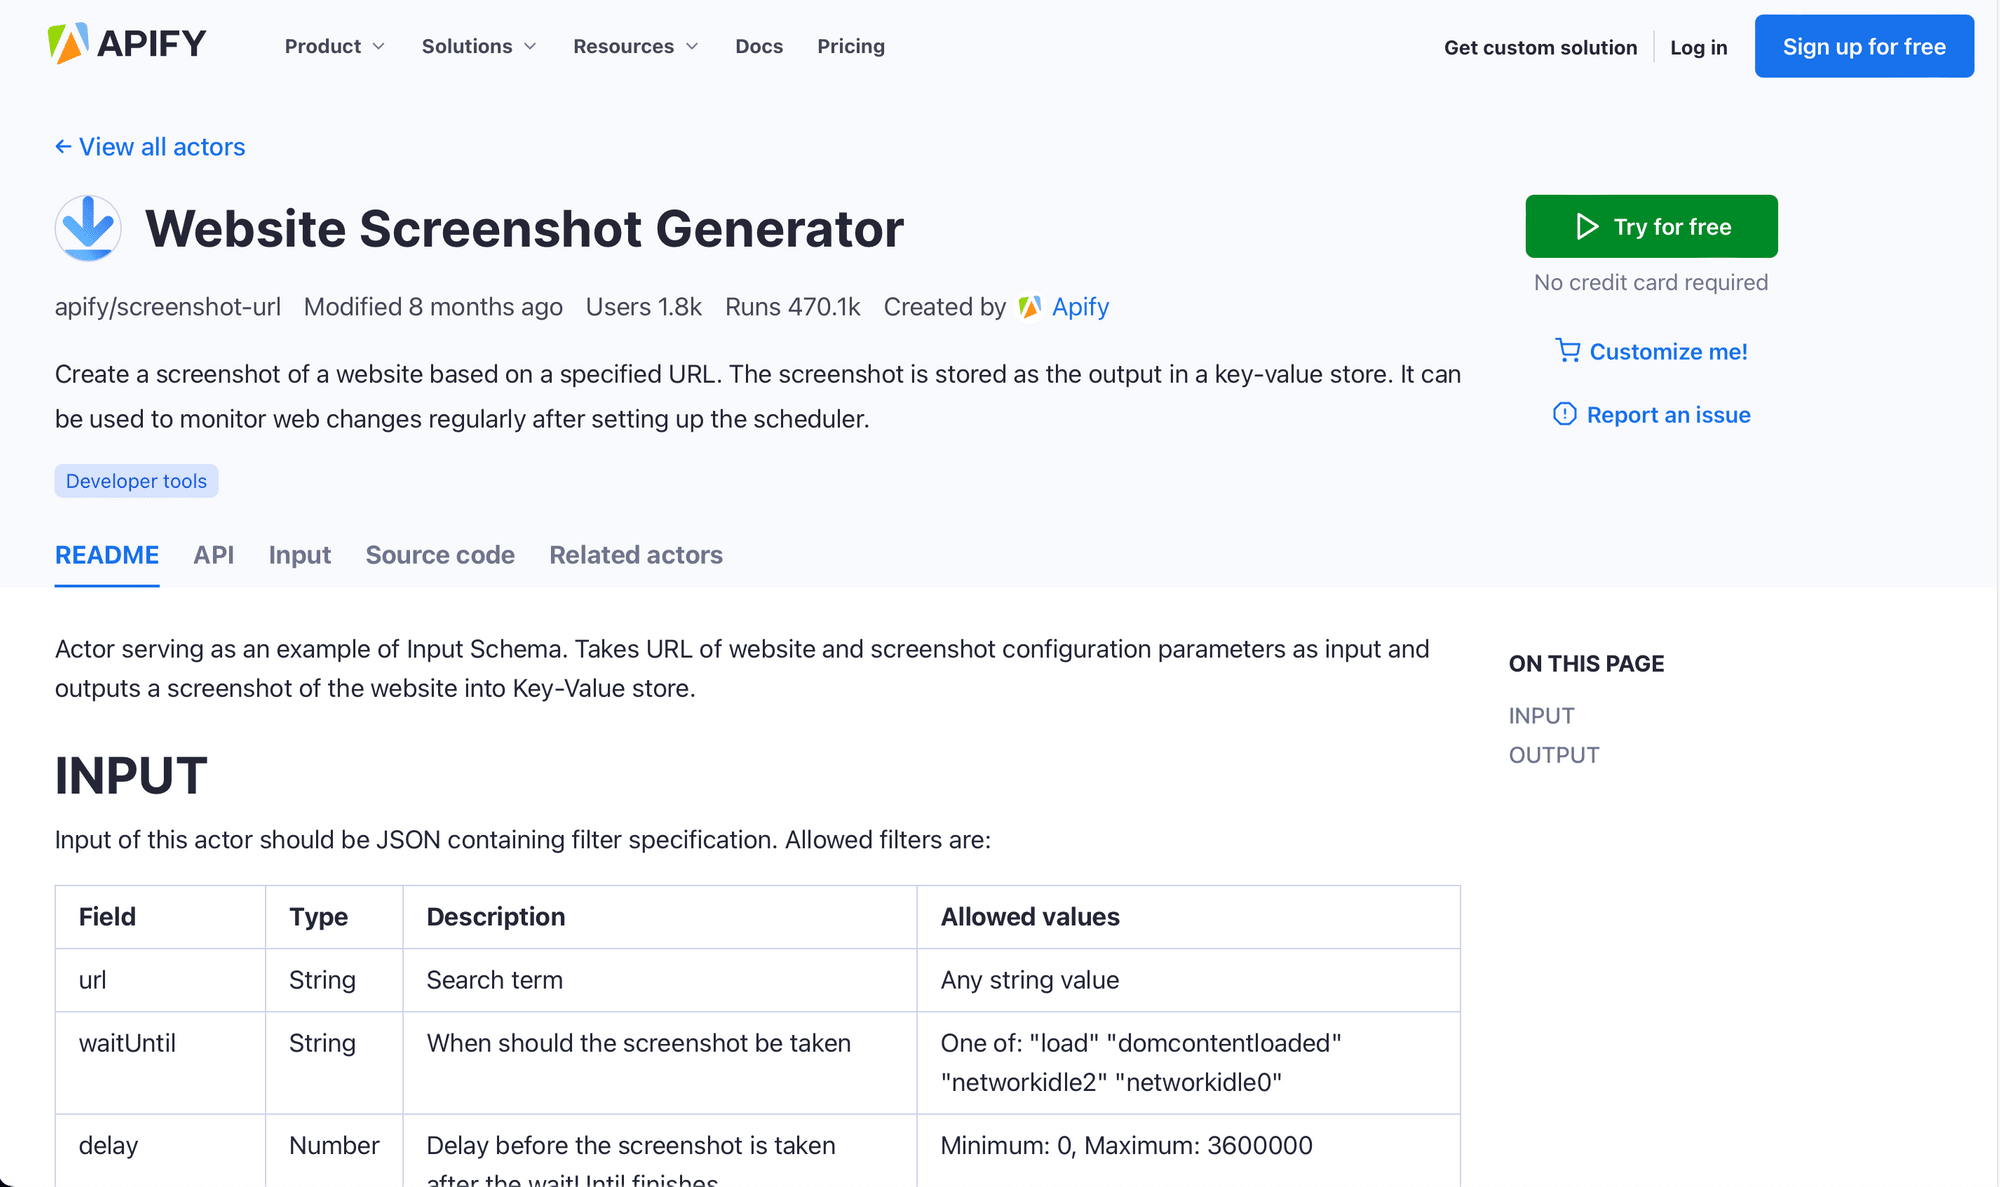
Apify powers web scraping and browser automation tools, and their Website Screenshot Generator can create screenshots and integrate with your workflows. With plenty of configuration options and accessible source code, this actor is fairly lightweight yet can serve a wide range of use cases.
🔑 Key Features :
- REST API
- Variety of customization options such as wait instructions, delays, viewport sizes, etc.
- Integrates with Zapier, Gmail, Google Drive, and more
- Free trial
💸 Pricing :
Pricing starts free for 10 CU (compute units), and paid plans start at $49 a month for 100 CU. Users can also pay for add-ons such as proxies, increased RAM, priority support, and more. Apify’s pricing is pay-as-you-go and new users can try out features with a free plan.
🧩 Complexity :
Apify is built for developers, and it’s more suited to technical users with a strong understanding of running actors via the API.
💭 Overall Thoughts:
Apify’s website screenshot generator is fairly priced and able to integrate with other tools. While this specific actor only takes screenshots, Apify has a wealth of other options for browser actions such as web scraping and monitoring. Adaptable source code means you can build a solution that precisely suits your needs—but you have to have a certain level of coding proficiency to do so.
Blitapp (🪄 Nocode-friendly!)
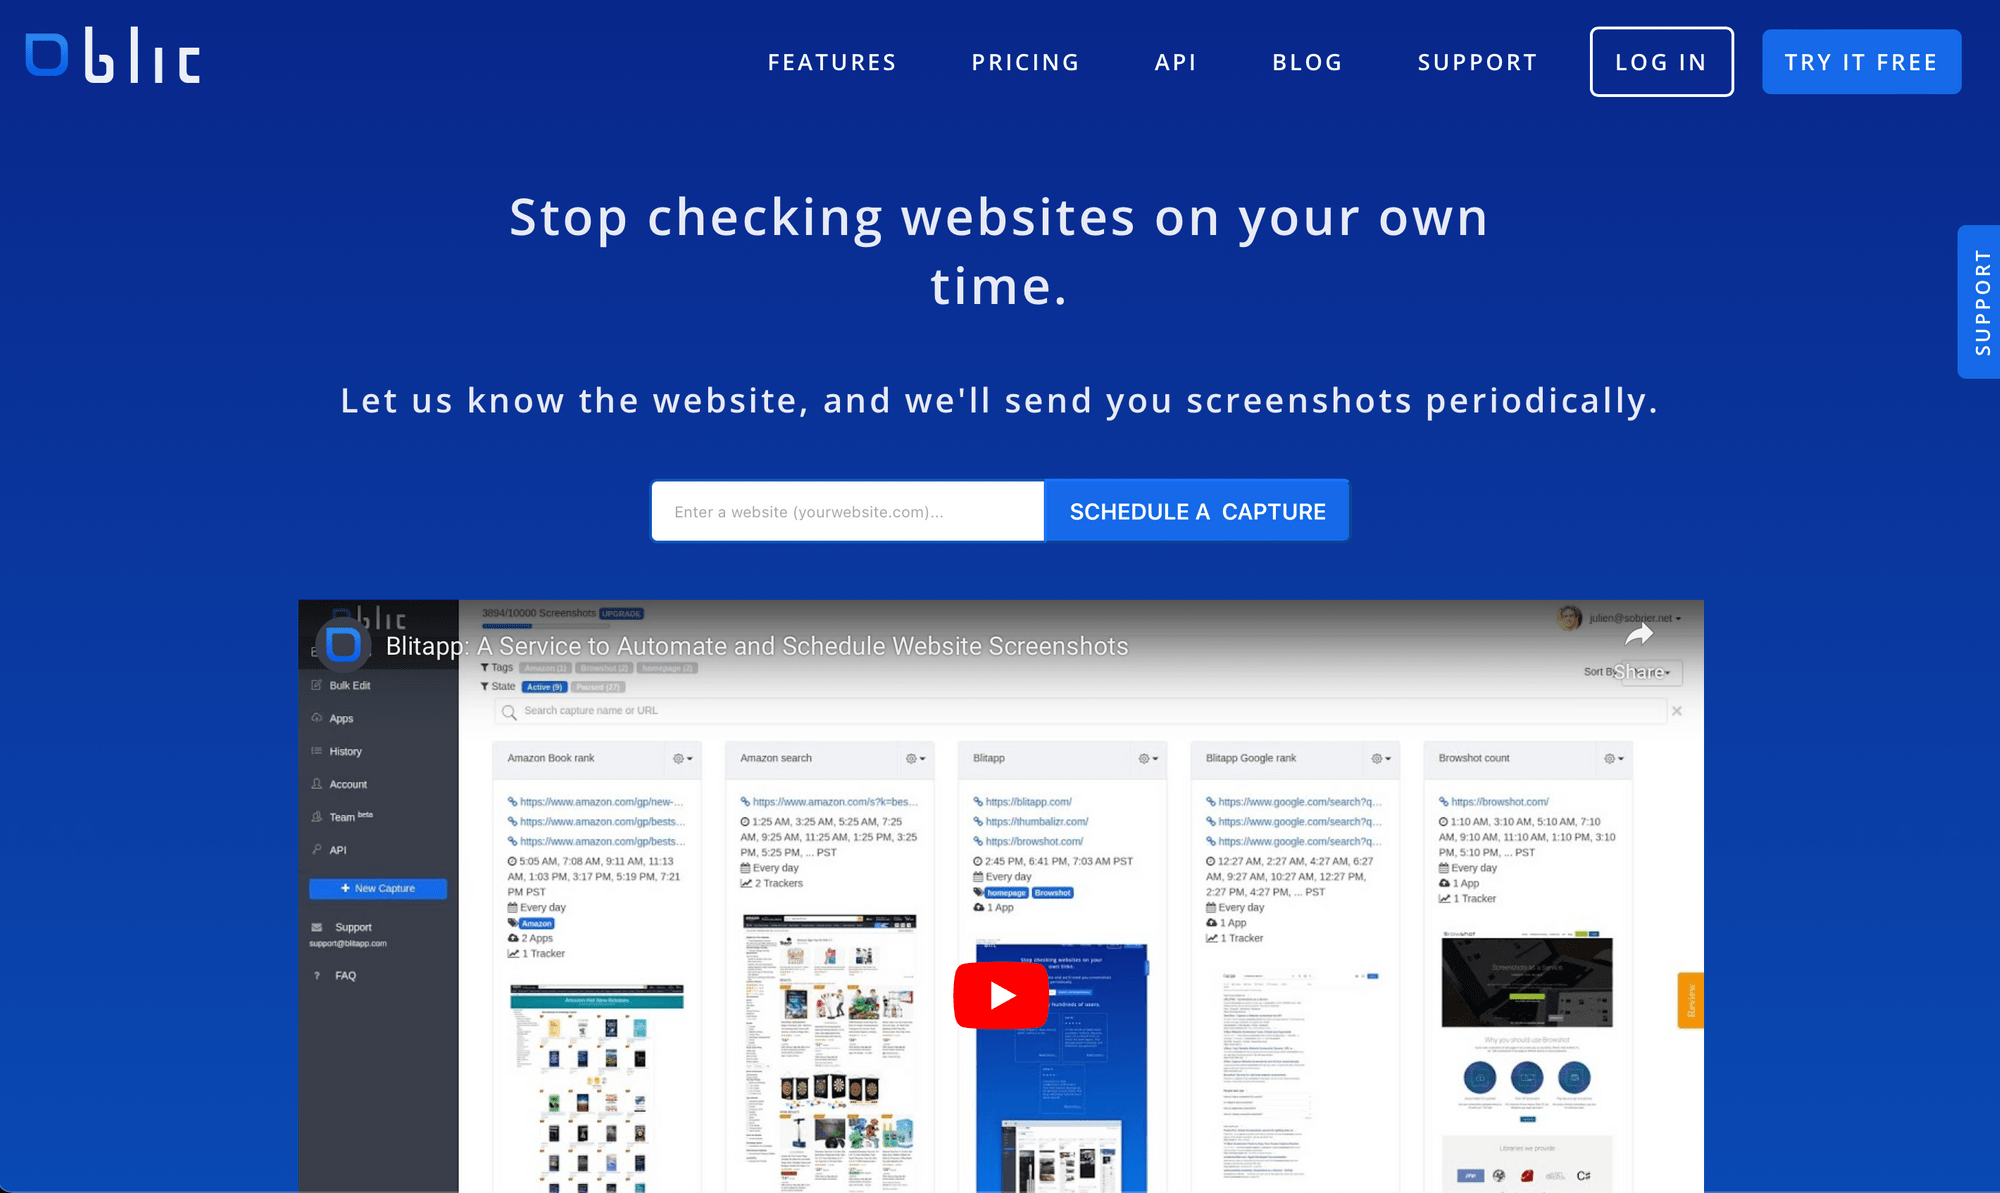
As a tool created specifically to automate screenshots, Blitapp does one thing but it does it well. The fairly intuitive dashboard allows you to take automatic screenshots by inserting a URL, setting up a schedule, and sending output to cloud storage.
🔑 Key Features :
- REST API
- Captures screenshots in bulk from a list of URLs, sitemap, or RSS feed
- Interacts with page captured to hide popups and overlays, login, specify browser and viewport sizes, etc.
- Integrates with Google Drive, Dropbox, OneDrive, Slack, Gmail, and more
- Free trial
💸 Pricing :
Pricing starts at $5 a month for 100 screenshots and scales as your needs do. Higher tiers include more browser and proxy options, as well as longer screenshot histories. New users can try out features with a free plan.
🧩 Complexity :
Blitapp has a REST API, but it also comes with a simple dashboard for setting up screen captures that makes it suitable for non-technical users.
💭 Overall Thoughts:
Blitapp is simple and easy to use, and its price point makes it an appealing option for many. A focus on storage app integrations and screenshot archives are a plus for users needing extensive histories. However, it might not have the capabilities for more complex workflows—at least not without custom code.
Browserbear (🪄 Nocode-friendly!)
Taking screenshots is only one of many browser actions Browserbear can handle. An intuitive dashboard makes it easy to build unique automated tasks, then schedule or trigger them in response to events. Integrations with Zapier and Make also enable users to create complex workflows without any code.
🔑 Key Features :
- REST API
- Creates screenshots on schedule or when triggered by events
- Intuitive dashboard and task builder
- Performs browser actions to hide popups and overlays, login, solve captchas, specify viewport sizes, etc.
- Integrates with Zapier, Make, and more
- Free trial
💸 Pricing :
Pricing starts at $49 a month for 3 hours of cloud runtime. Higher tiers include team capabilities and priority support. Users can test Browserbear with a free plan.
🧩 Complexity :
Browserbear has an intuitive task builder that makes it easy to create complex workflows without any code. Still it’s robust enough that developers in need of a custom solution can also take advantage of the REST API.
💭 Overall Thoughts:
Browserbear is fantastic for both nocode and technical users. With 30 browser actions and integrations with other apps, screenshots are just one part of bigger and more comprehensive workflows. Users can also follow step-by-step tutorials and contact the responsive support team (👋🏽 hi, it’s us!) for help with their unique use case.
Browshot
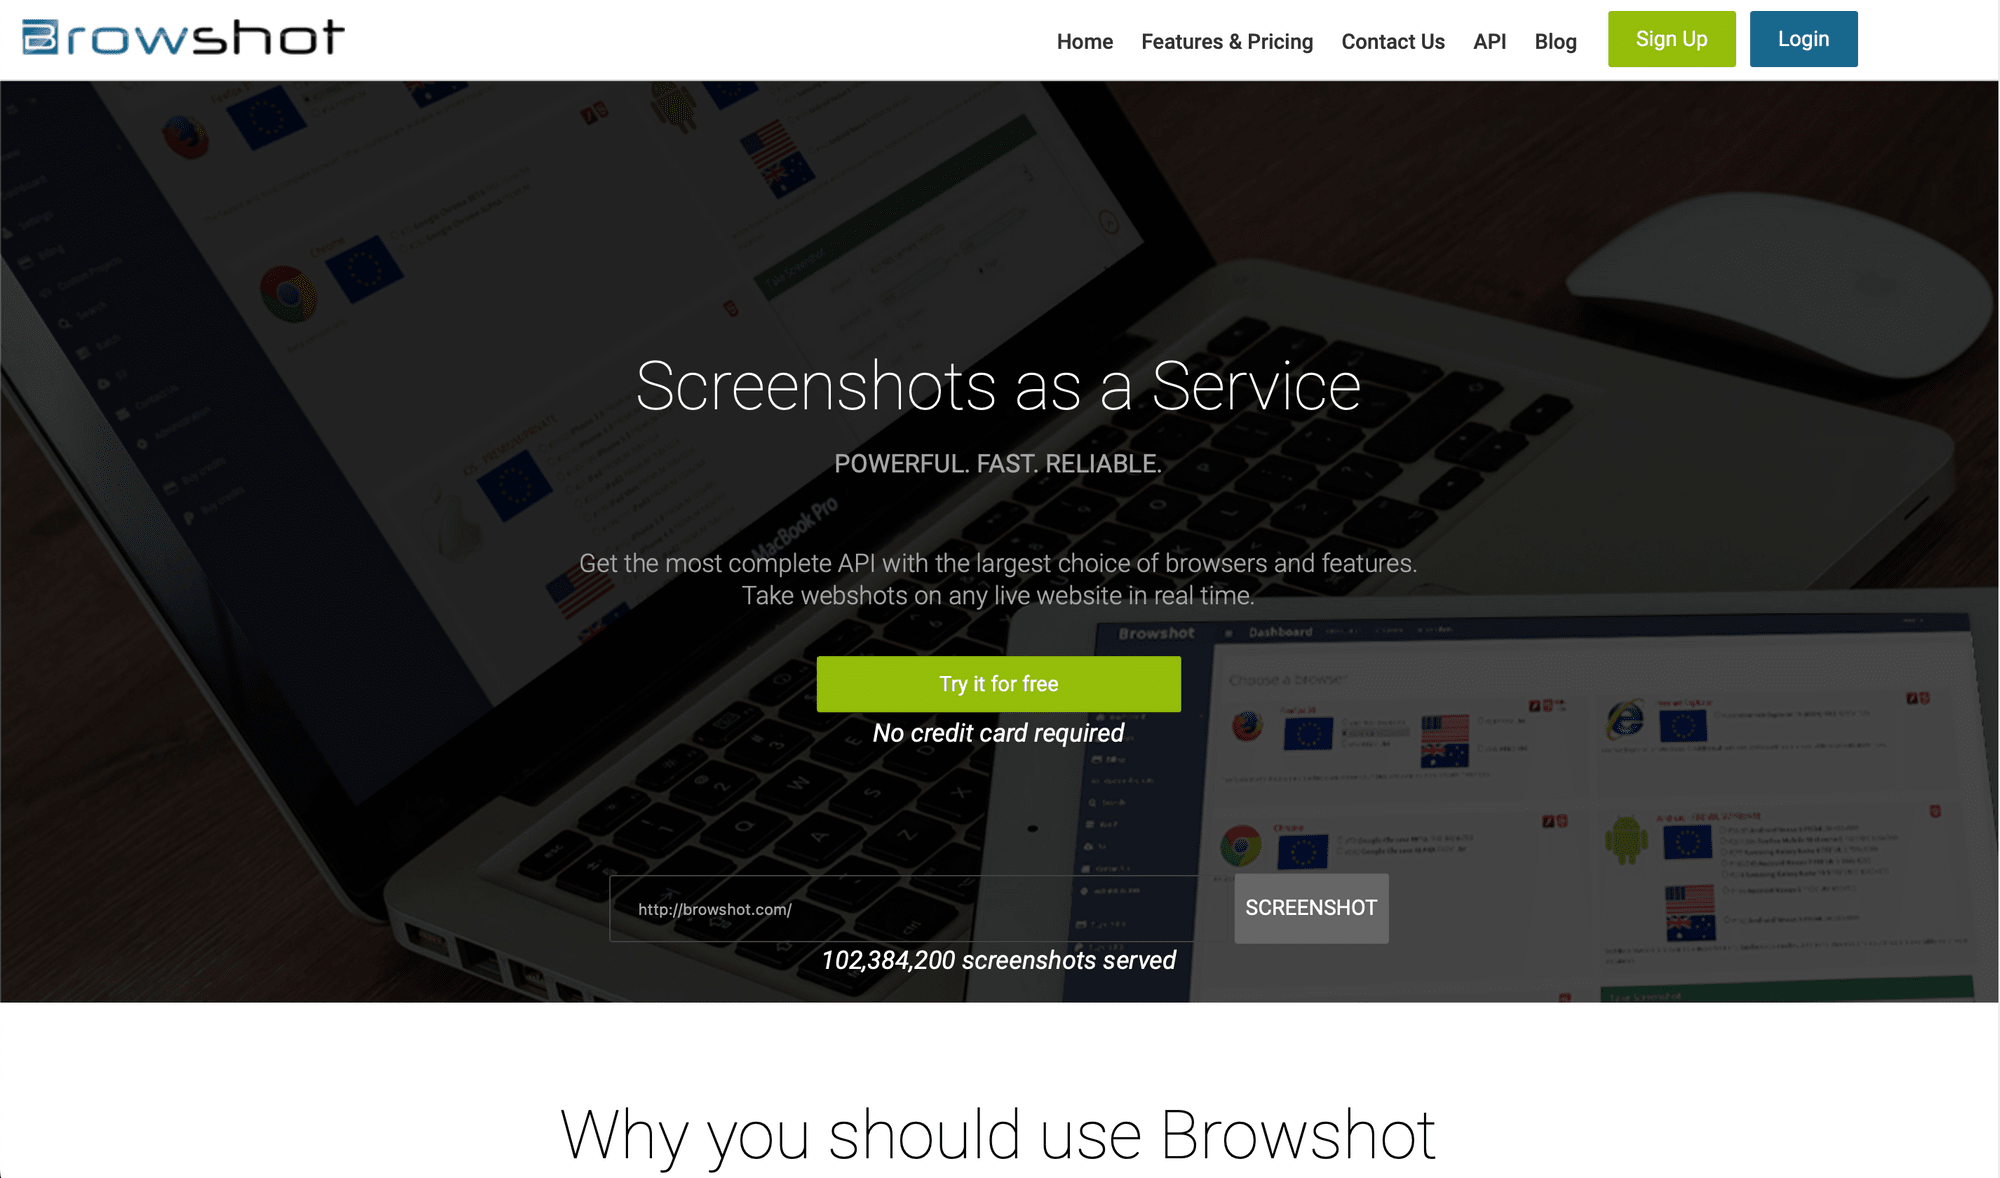
Browshot is built to be used on a variety of virtual devices and browsers, whether you want to capture screenshots on iPhone, iPad, Android, or desktop. A storage solution is built-in, with Browshot able to upload screenshots to your Amazon S3 bucket for free. Users can set up automated screenshots by providing URLs and specifying size and resolution. Alternatively, they can use the API to set more custom parameters.
🔑 Key Features:
- REST API
- Wide variety of open-source libraries
- Variety of modifiable parameters such as size, cache, delay, modal removal, dark mode, element targeting, etc.
- Can capture screenshots in bulk
- Free trial
💸 Pricing:
Pricing starts free for 100 screenshots taken via a single virtual device. Paid plans are pay-as-you-go, offering more virtual devices and proxies as well as higher image resolutions.
🧩 Complexity:
Browshot has a fairly understandable dashboard and can be used to set up simple screenshots without any coding knowledge. However, more advanced features require technical skills and an understanding of APIs.
💭 Overall Thoughts:
Browshot can be used by both coders and nocoders, and their pay-as-you-go model makes it an appealing option for many. That said, the dashboard’s customization features are limited and users will get the most out of this platform if they have the technical know-how to use the API and open-source libraries.
Rasterwise (🪄 Nocode-friendly!)
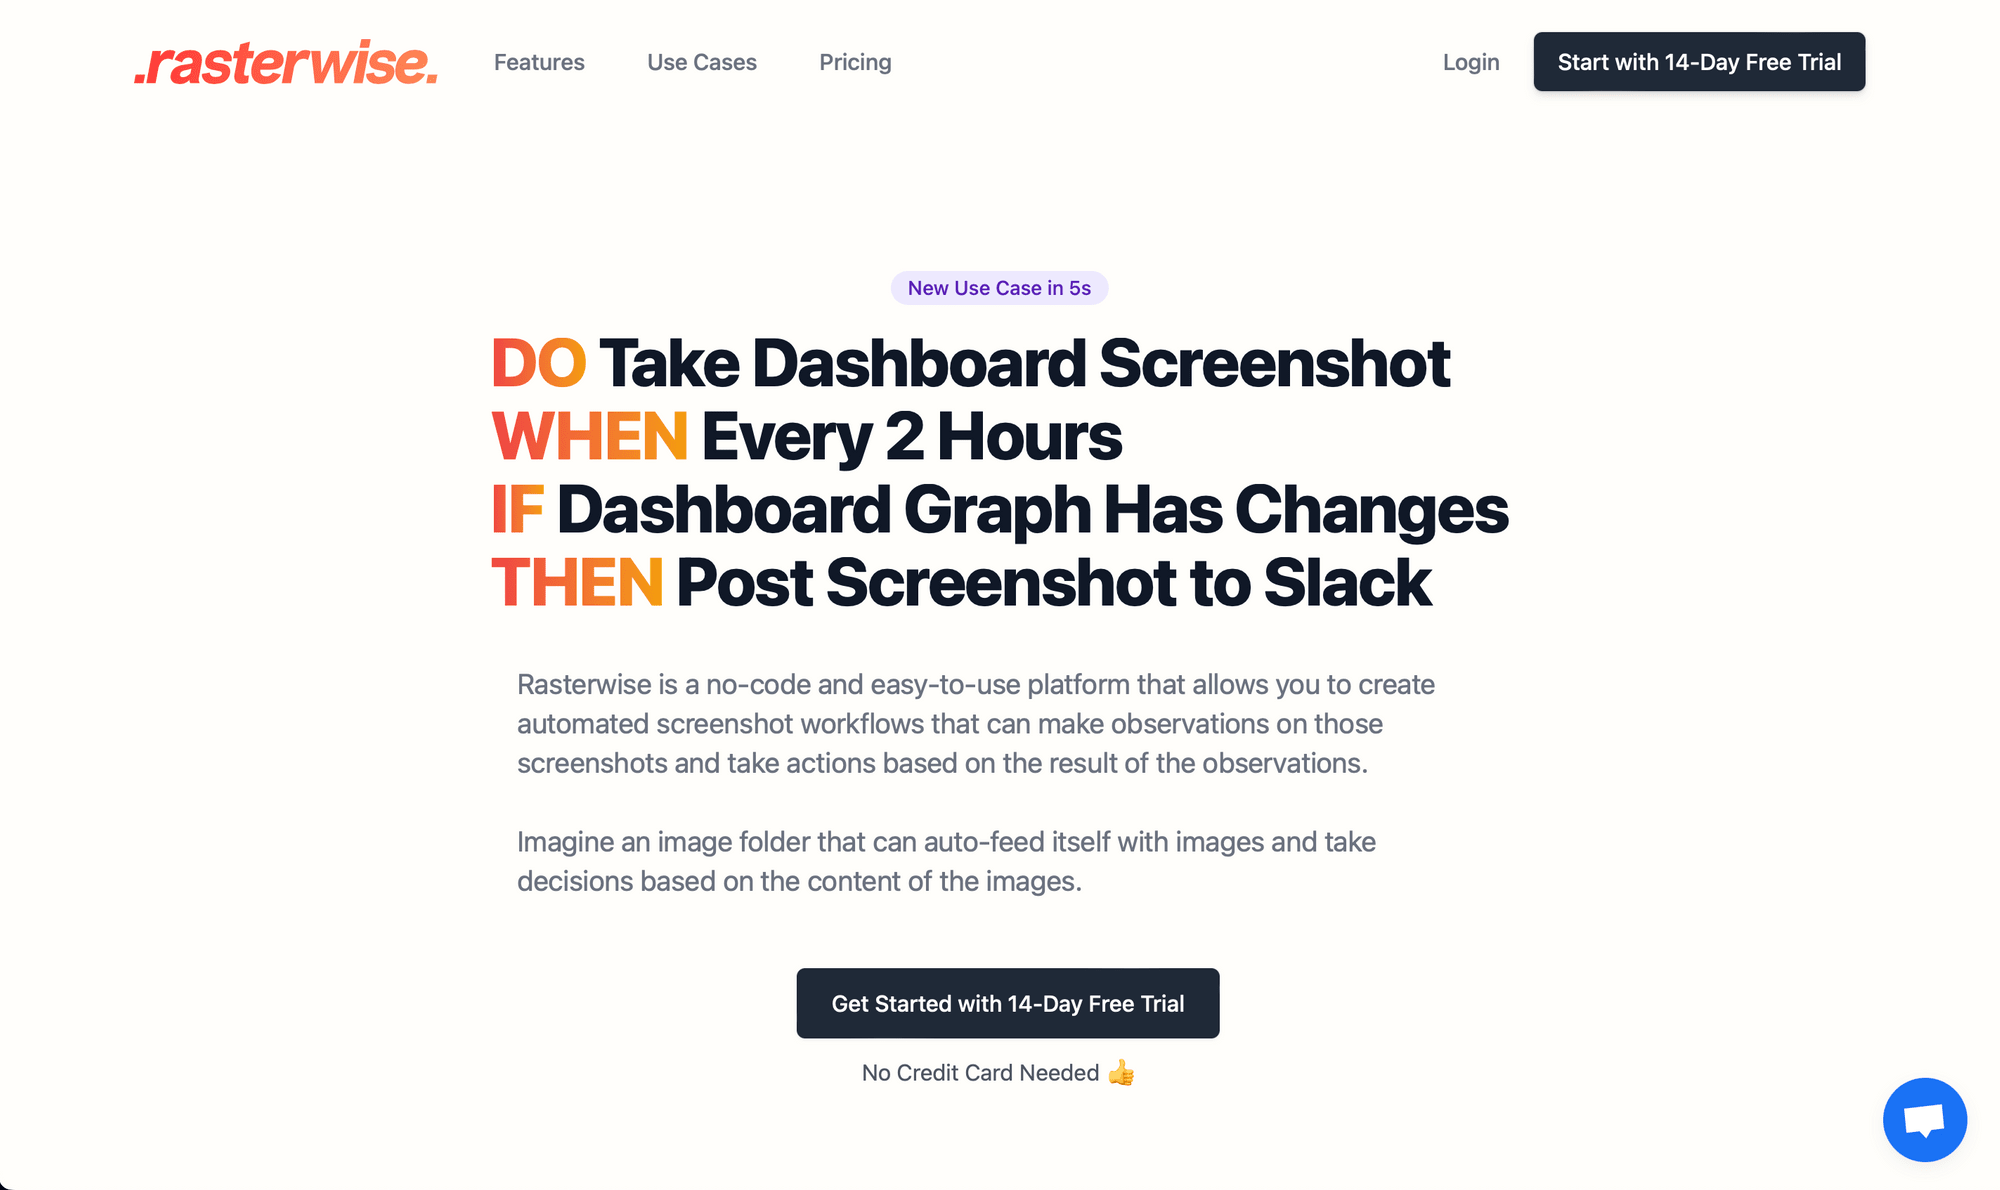
Rasterwise’s platform has a beautiful interface and use cases in marketing, product, social media, and more. Features include trackers and an intuitive workflow builder that relies on easily understandable terms like DO, WHEN, IF, and THEN.
🔑 Key Features:
- REST API (via GetScreenshot)
- Creates screenshots on schedule or when triggered by events
- Intuitive dashboard and workflow builder
- Uses webhooks to integrate with other apps
- Free trial
💸 Pricing:
Pricing is currently at $7.99 a month for 4 trackers and 36 images per tracker for early adopters.
🧩 Complexity:
Nocode users will find Rasterwise’s interface easy to use, but there are not many control parameters to choose from.
💭 Overall Thoughts:
Rasterwise is a screenshot tool that has a lot of promise for nocode users. However, it’s still in its early days with limited detection capabilities and no built-in integrations, requiring webhooks as a workaround. Users needing a higher level of customization must use the API, but even then, there are few browser control parameters to choose from. This tool seems most suited to users who need simple, full-page screenshots triggered by a specific event.
Screenshot API (🪄 Nocode-friendly!)
High resolution screenshots and a variety of output formats are priorities for Screenshot API. With a user-friendly interface and scalable capabilities, this tool is popular among businesses. It seems to be the only tool advertising an ability to capture shots of HTML5 videos, Web Fonts, Single Page Apps, and more.
🔑 Key Features:
- REST API
- Wide variety of output formats including WebP, JPG, PNG, and PDF
- Nocode query builder with options to interact with page before capture
- Integrates with Zapier, Make, and more
- Free trial
💸 Pricing:
Pricing starts at $9 a month for 1,000 screenshots. Higher tier plans come with the same features—just higher asset limits.
🧩 Complexity:
Screenshot API is easy to use, making it appropriate for nocode users. Technical users can also leverage more control using the API.
💭 Overall Thoughts:
Screenshot API is a tool that is easy to use, yet offers a lot of control over captures. Its ability to handle unique formats and higher resolutions make it a good choice for users who need beautiful, high-quality images. However, users looking to build complex automated screenshot workflows will need to integrate other tools.
Selenium WebDriver
While Selenium is more of a browser automation suite than a screenshot tool, it can be used to capture webpages. There are libraries for all of the most commonly used programming languages, including Java, Python, C#, Ruby, JavaScript, and Kotlin.
Creating a screenshot automation in Selenium involves writing a simple program that navigates to the webpage, interacts as needed, captures an image, then saves it to the desired destination.
🔑 Key Features:
- Extensive browser automation capabilities
- Robust enough for automation at scale
- Completely free & open source
💸 Pricing:
Selenium WebDriver is completely free and there is an entire ecosystem of Open Source projects (drivers, bindings, plugins, and frameworks) built around it.
🧩 Complexity:
Since Selenium is a flexible automation suite that requires you to write a script of your own (or build off of an existing project), it’s best suited to developers.
💭 Overall Thoughts:
Selenium is a fantastic option for screenshots at scale, particularly when it comes to automated browser testing. But since it requires considerable technical knowledge, it isn’t suited to nocoders or use cases that require frequent adjustment.
Stillio (🪄 Nocode-friendly!)
An relatively known contender in the automated screenshot space, Stillio exists as a simple solution to archive websites. Simple scheduling options, auto-archiving, watermarking, and other features make it a quick and efficient way to periodically log the state of a webpage.
🔑 Key Features:
- REST API
- Includes features such as bulk capture, automatic archiving, watermarking, and geolocation proxies
- Interacts with page captured to click or hide elements, specify browser and viewport sizes, etc.
- Free trial
💸 Pricing:
Pricing starts at $29 a month for 5 tracked sites. Higher tier plans can track more web pages and enjoy more control over frequency. New users can test out features with a free trial.
🧩 Complexity:
Stillio has a simple interface and plenty of customization options, making it suitable for non-technical users.
💭 Overall Thoughts:
Stillio’s dashboard is simple and easy to use. Their auto-archiving, watermarking, and GEO-IP features also offer a lot of utility to business users. While scheduling options make it a great choice for capturing pages at regular intervals, use cases that involve action when an event occurs might be considerably trickier.
URL2PNG
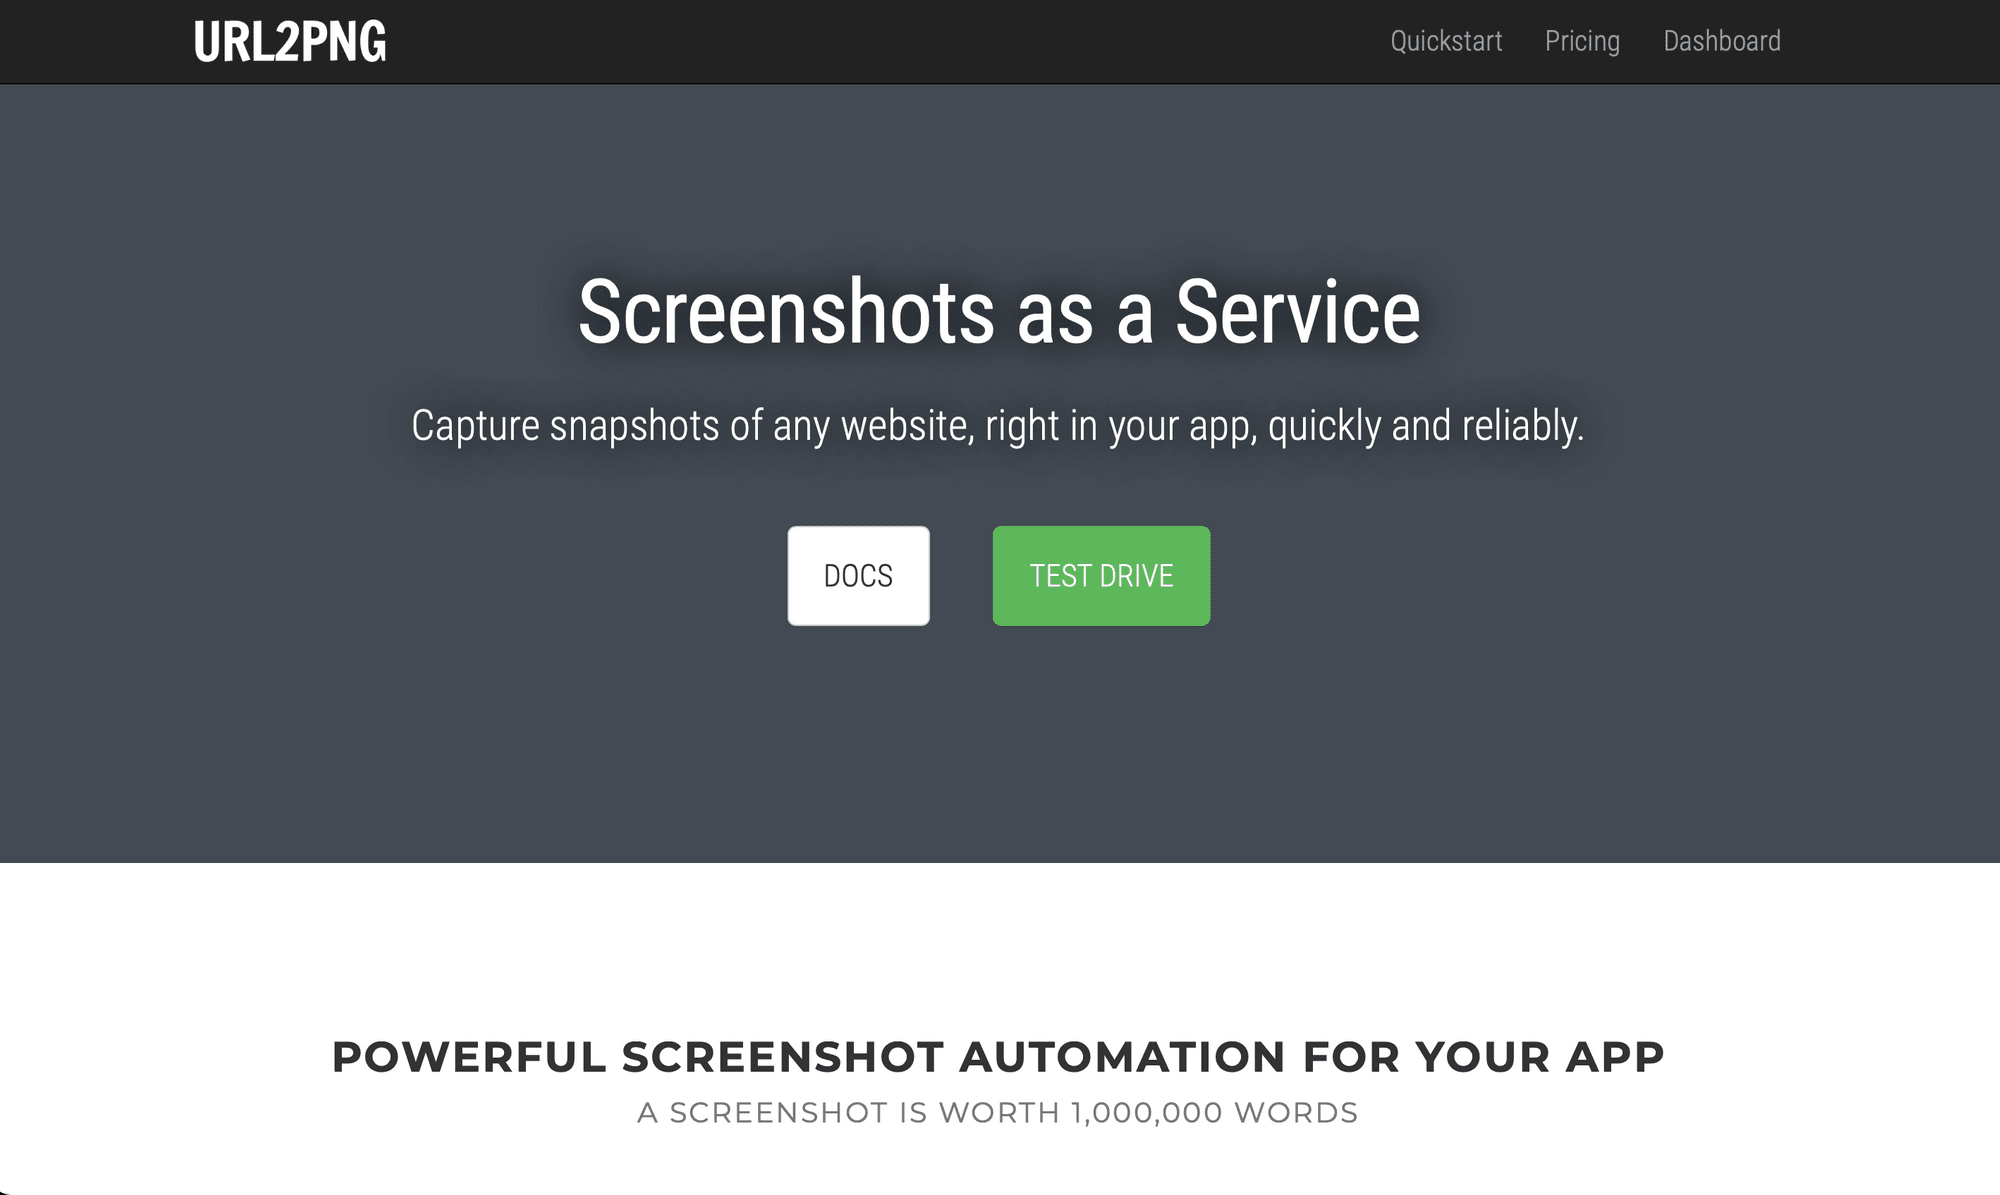
URL2PNG is simple and highly customizable, all at once. Its real-time rendering capabilities and variety of customization options make it fantastic for many use cases. Users can inject custom CSS and embed the tool in their own apps as well.
🔑 Key Features:
- REST API
- Real-time rendering
- Libraries for Ruby, Curl, Python, NodeJS, PHP, VB.net, Perl, and C#
- Wide variety of customization options including viewport size, delays, user agent headers, custom CSS, etc.
💸 Pricing:
Pricing starts at $29 a month for 5,000 screenshots. Higher tier plans come with more screenshots, more team member seats, and cheaper prices per additional capture.
🧩 Complexity:
Users get the most out of URL2PNG when leveraging the power of their API, so this tool seems to be most suited to technical users.
💭 Overall Thoughts:
While URL2PNG has a dashboard and test drive feature on their site that allows immediate screenshot generation, they primarily focus on their API. Users looking to embed screenshot capabilities in their site, app, or business process might want to consider this tool. However, less technical users may not be able to get the most out of it.
Matching the Best Screenshot Automation Tool to Your Needs
Choosing a browser screenshot automation tool ultimately comes down to understanding your use case. Whether for monitoring website changes or tracking performance, ask yourself questions like: What will I be using the captures for? What will trigger the action? How much am I willing to pay?
Users should carefully evaluate each tool and compare the features offered to their specific needs and requirements before making a decision.
And if you’re looking to learn more about taking code-free automatic screenshots with Browserbear, check out these articles on our blog:
👉🏽 How to Automatically Take Screenshots with Browserbear
👉🏽 5 Handy Ways to Improve Your Browserbear Screenshot Workflow


