5 Handy Ways to Improve Your Browserbear Screenshot Workflow
Contents
Automated screenshots help you capture the way a webpage or app looks at a specific point in time. They serve as documentation and allow you to consolidate information in one place. Screenshots can be used for various purposes, including:
- Identifying and documenting issues or bugs
- Demonstrating functionality or features
- Providing visual aids for presentations or reports
- Archiving historical versions of a webpage or app
- Tracking trends across sites
- Following competitors
- Verifying sponsorships or paid partnerships
And that’s only the start!
Automated screenshots have a wide range of use cases, but setting up a workflow that captures images effectively can be tricky. You won't be making manual adjustments to every shot, after all.
In this article, we’ll discuss five ways to take better screenshots using Browserbear and store them efficiently for later use.
What is Browserbear?
Browserbear is a cloud-based tool for automating web browsing tasks, such as saving structured data, testing websites, and capturing screenshots.
You can easily automate actions based on specific conditions by creating a task and triggering it using the REST API or no-code tools such as Zapier and Make. By integrating this task with other tools, you can save, manipulate, and optimize your data, freeing you from manual, repetitive work and allowing you to focus on more important tasks.
Five Ways to Take and Store Better Screenshots
When taking screenshots with Browserbear, there are several ways to improve the quality of the captured images, as well as the way they are captured and stored. Sometimes, simply setting up the task in a better way can help. Other times, it's worth reevaluating the overall process and seeing if integrating other tools can create a more efficient workflow.
Here are a few of our tips for taking better automatic screenshots:
1 - Schedule Screenshots at the Best Time and Frequency
It should go without saying that one way to optimize automatic screenshots is to take just as many as you need. To do this, consider:
- What are you trying to accomplish by taking automatic screenshots?
- Are you storing these images (and how much storage space are you working with)?
- How often do new screenshots have to be captured? Hourly? Daily? Weekly?
- Will your screenshots be triggered by an event or a time?
- Is there a certain time when the information you’re gathering is the newest and most beneficial (eg. right after daily updates have been released on a site)?
Having a clear understanding of your needs is the best way to trigger automation at the most effective time.
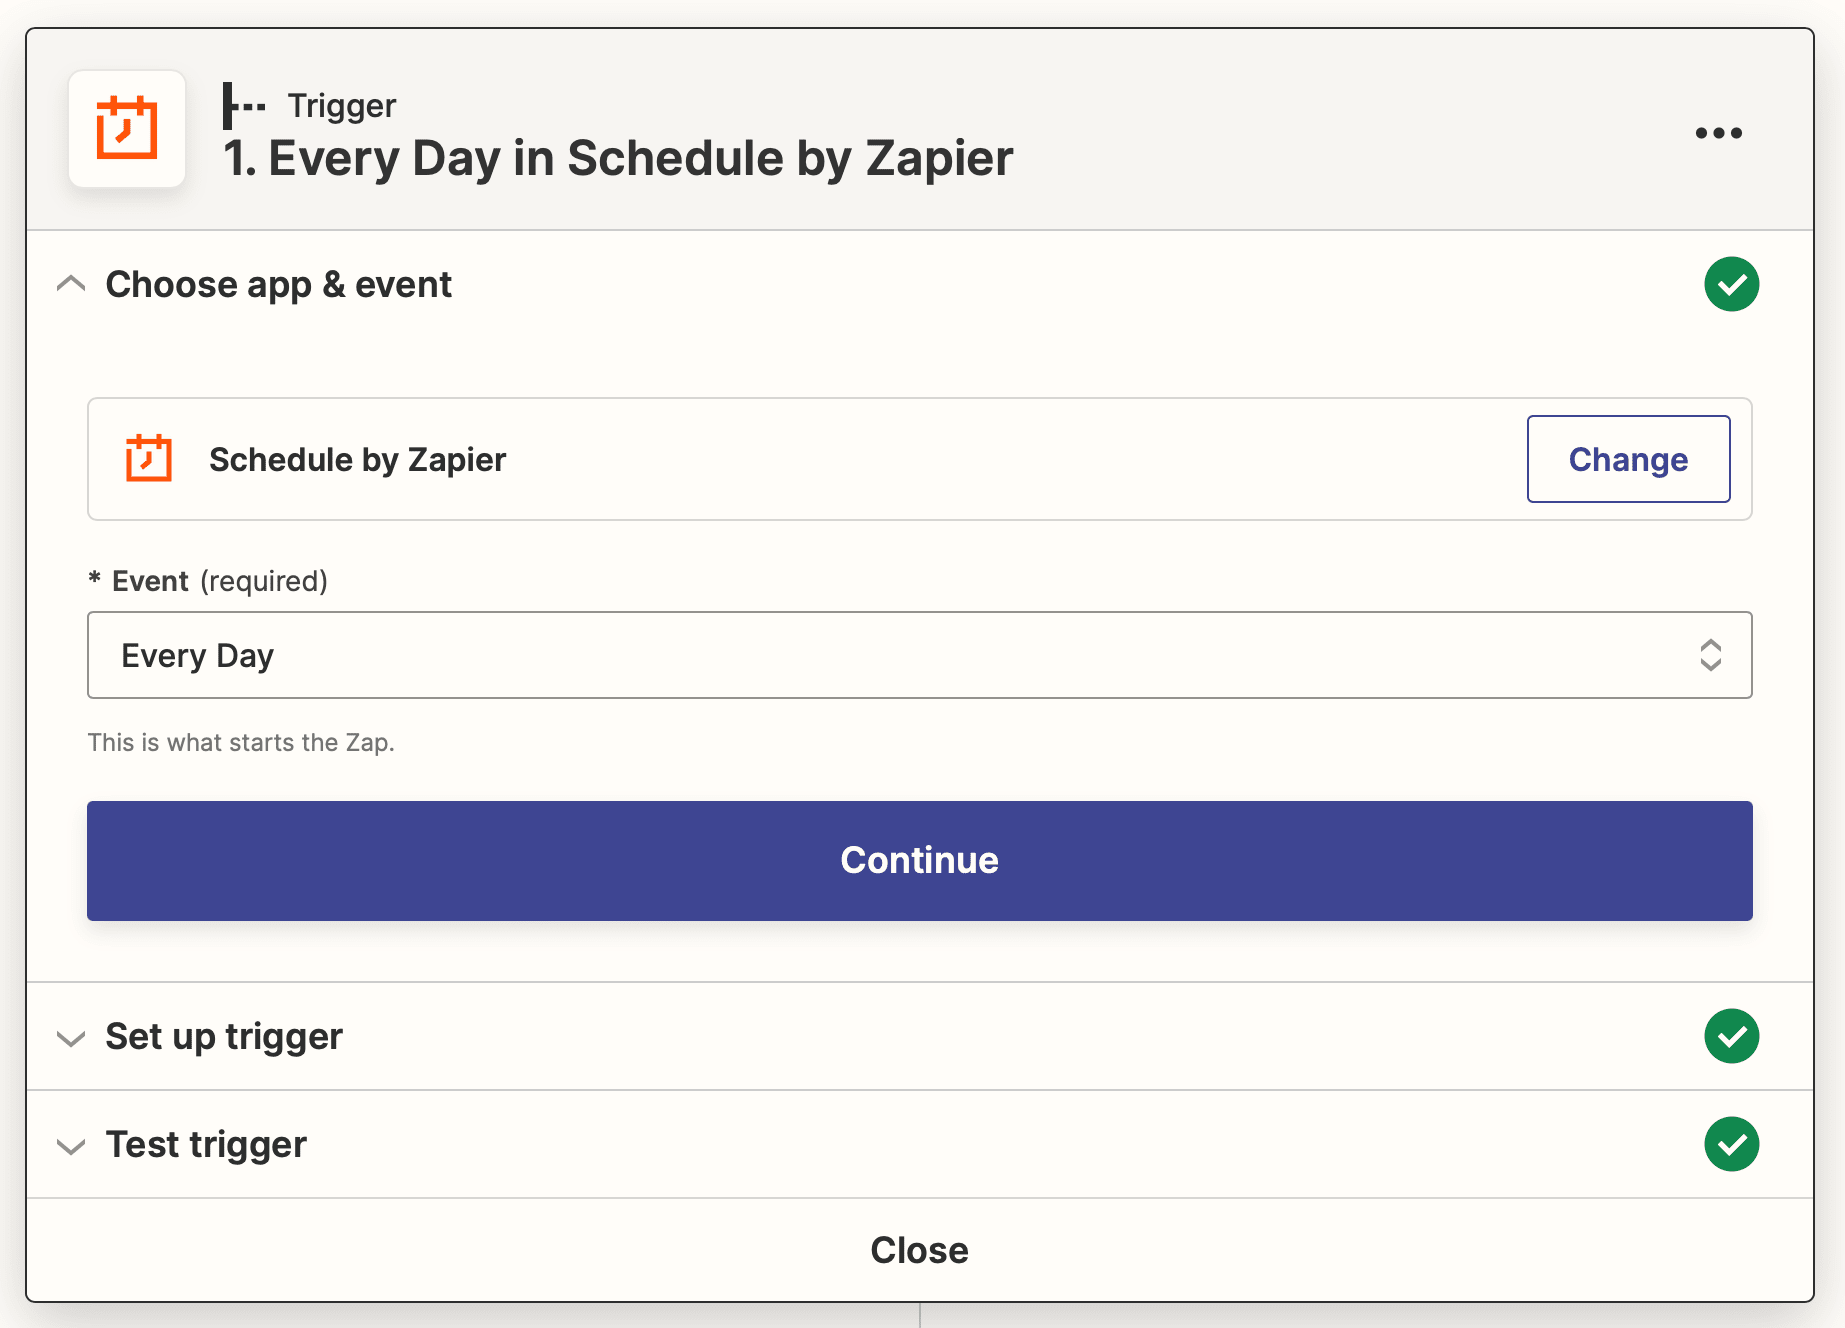
Keep in mind that you can update your automation as your needs change. For instance, you may want to take screenshots more frequently during the testing stage. But you might later realize that you have too many unnecessary images taking up storage space, then decide to adjust the frequency accordingly.
2 - Set a Custom Resolution
Browserbear uses a default resolution of 1024x768 for screenshots, which is suitable for many use cases and more efficient in terms of storage. But if you need crisp and detail-rich screencaps or want to view the webpage or app in a different size, try making these adjustments to your task:
Use the Advanced Options to Set a Different Resolution
Browserbear’s take_screenshot step uses 1024x768 by default, but you can use the Advanced options to adjust the resolution according to your needs.
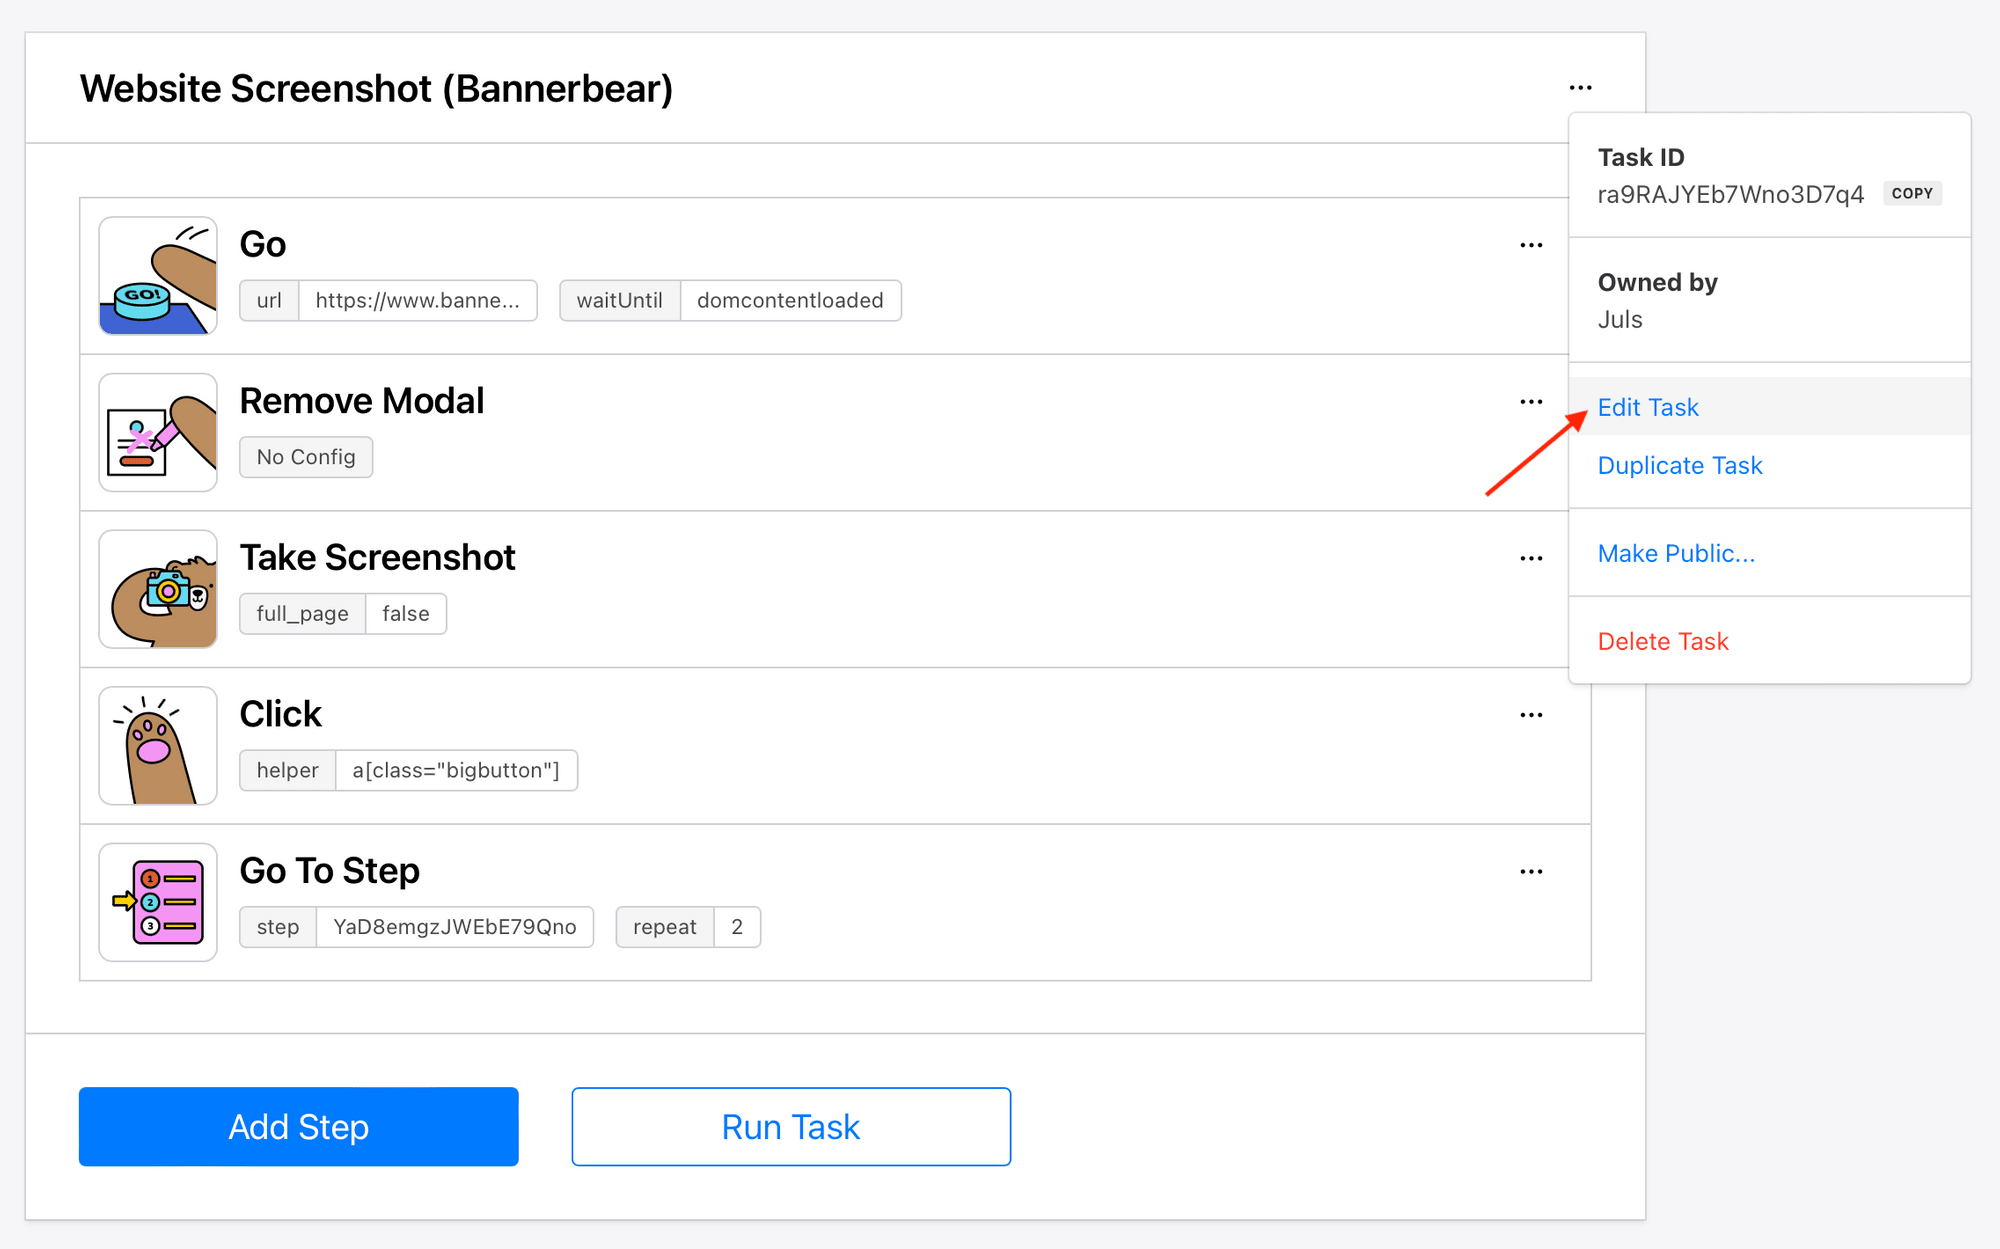
Click on the kebab (three dots) menu next to the task name, then click Edit Task.
Here, you’ll be able to insert custom dimensions for viewport width and height.
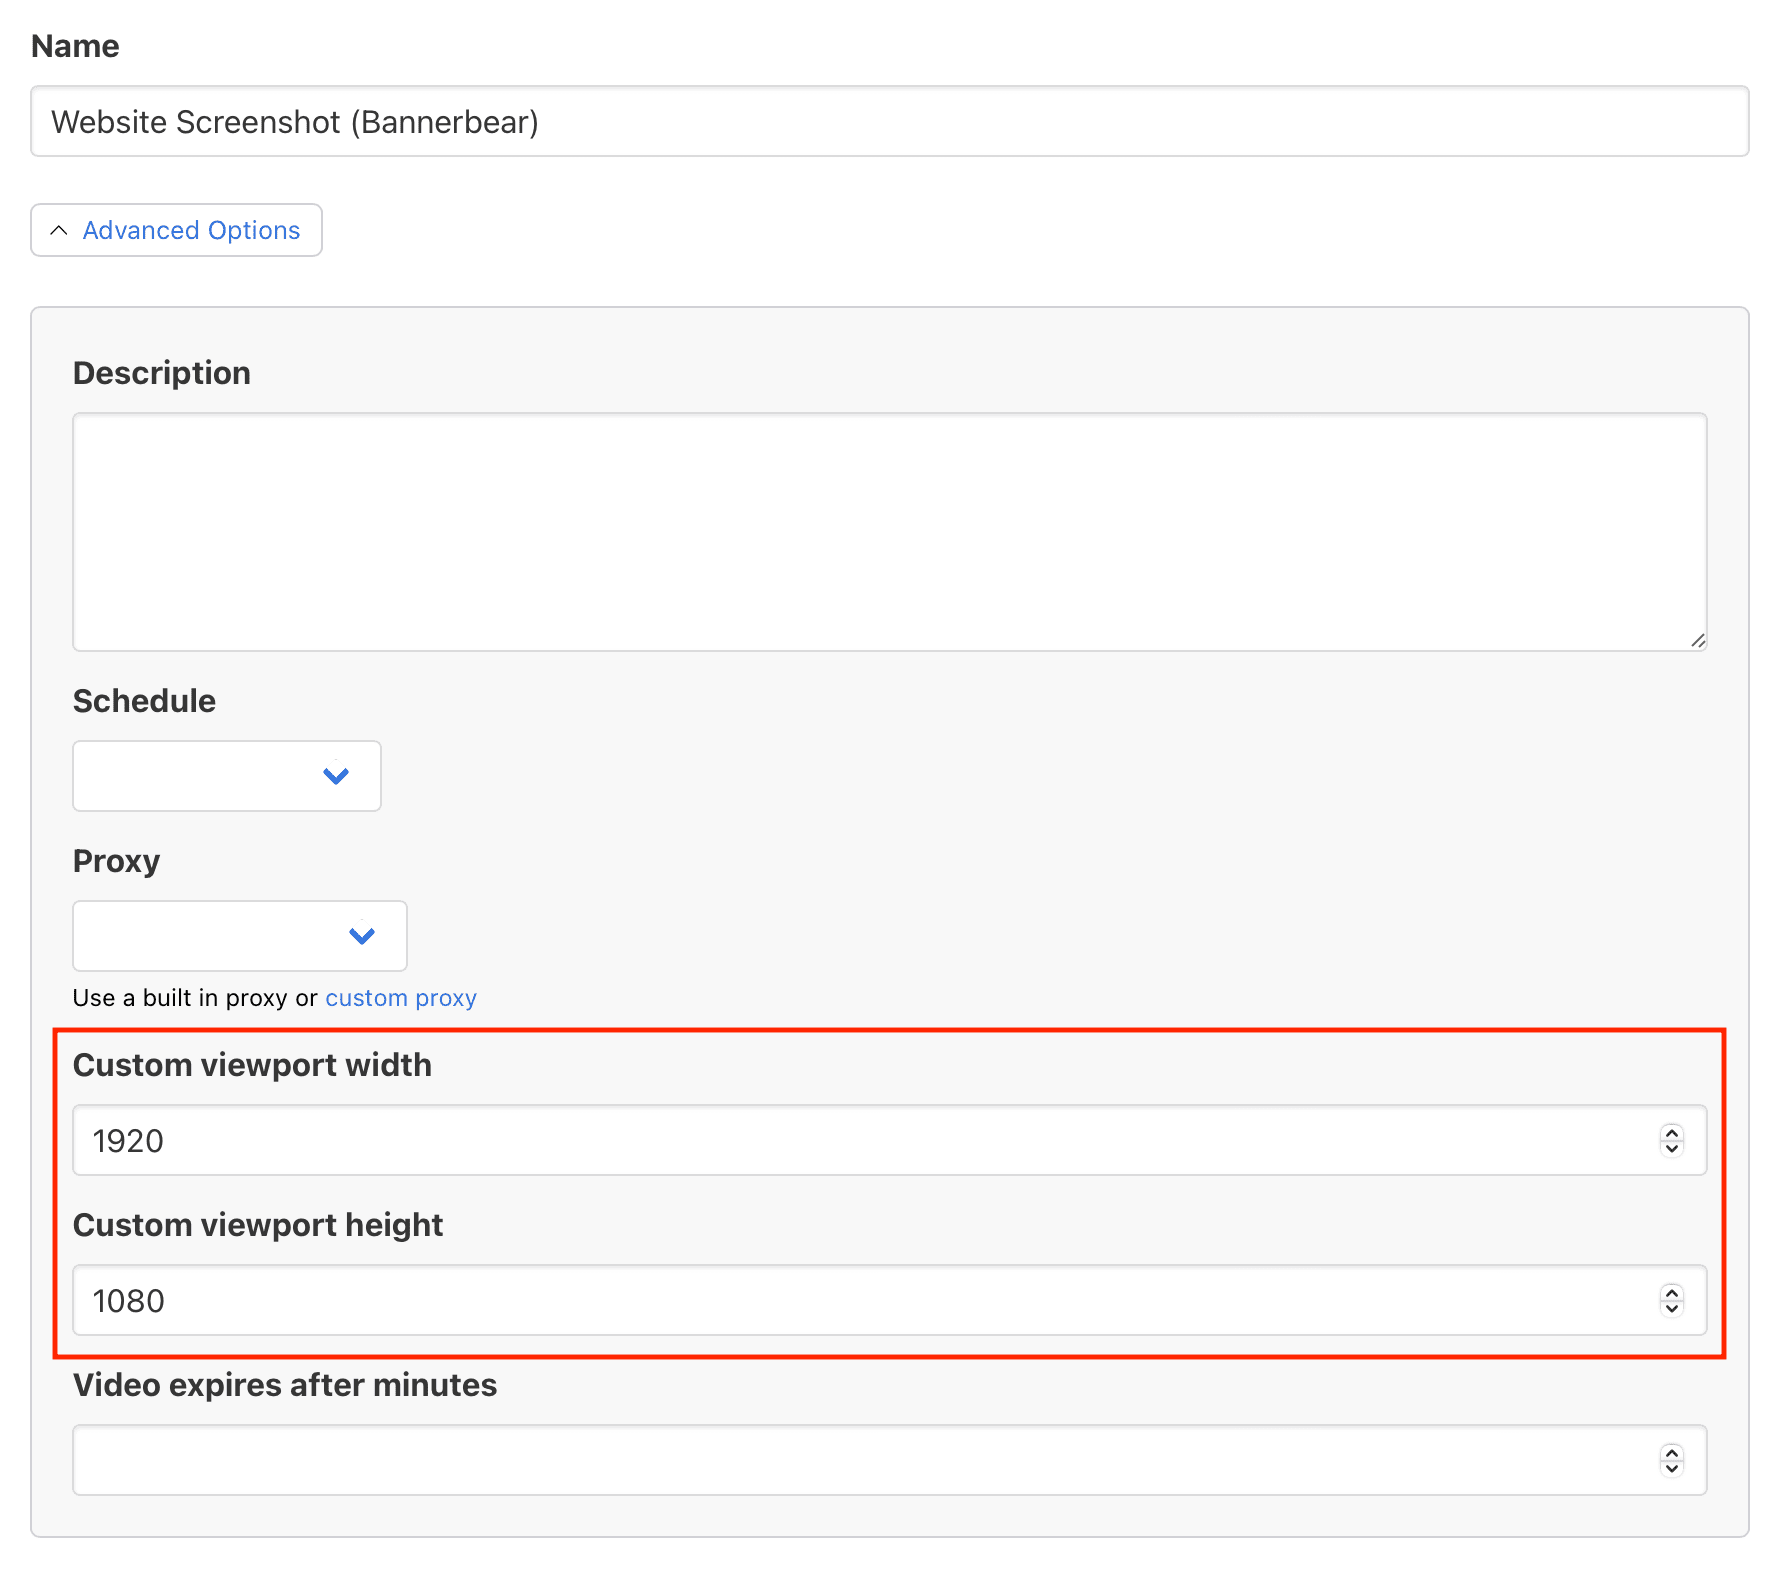
Save your task and run it to see if the output is to your liking.
Use the resize_window Step to View in Another Size
The resize_window step allows you to adjust the window of a webpage or app to any size, from mobile to desktop. Just add this step prior to your take_screenshot step:
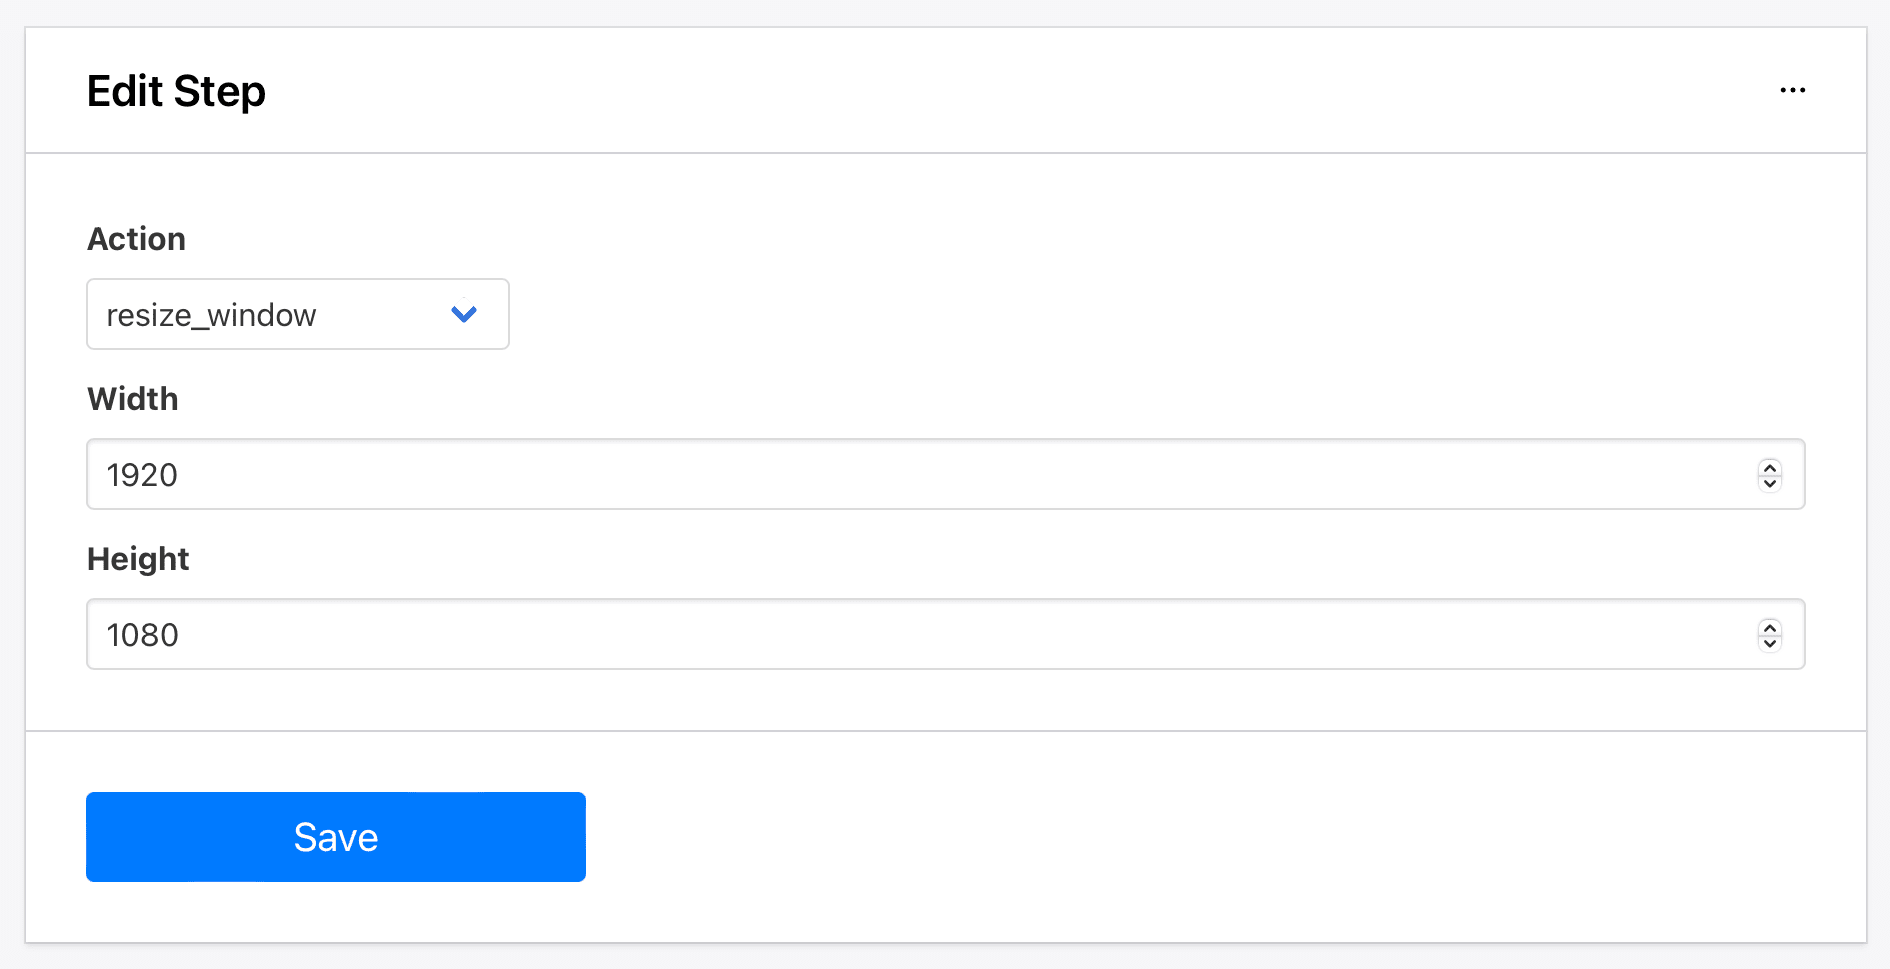
Save your task and run it to see if the output is to your liking.
Bear Tip 🐻: You can stack screenshots on top of each other in the same task. Need to test how a site responds when sized to mobile and desktop? Add two (or more!) separate sets of
resize_windowandtake_screenshotcombinations to your automation.
3 - Store Screenshots in an Accessible Location
Having screenshots is great, but they won't be of much help if you can't access them when needed. That's why planning out the storage step is crucial. Here are some things to consider:
- Who needs to access these screenshots?
- Do you want the shots stored locally or in the cloud?
- How long do you want to keep images?
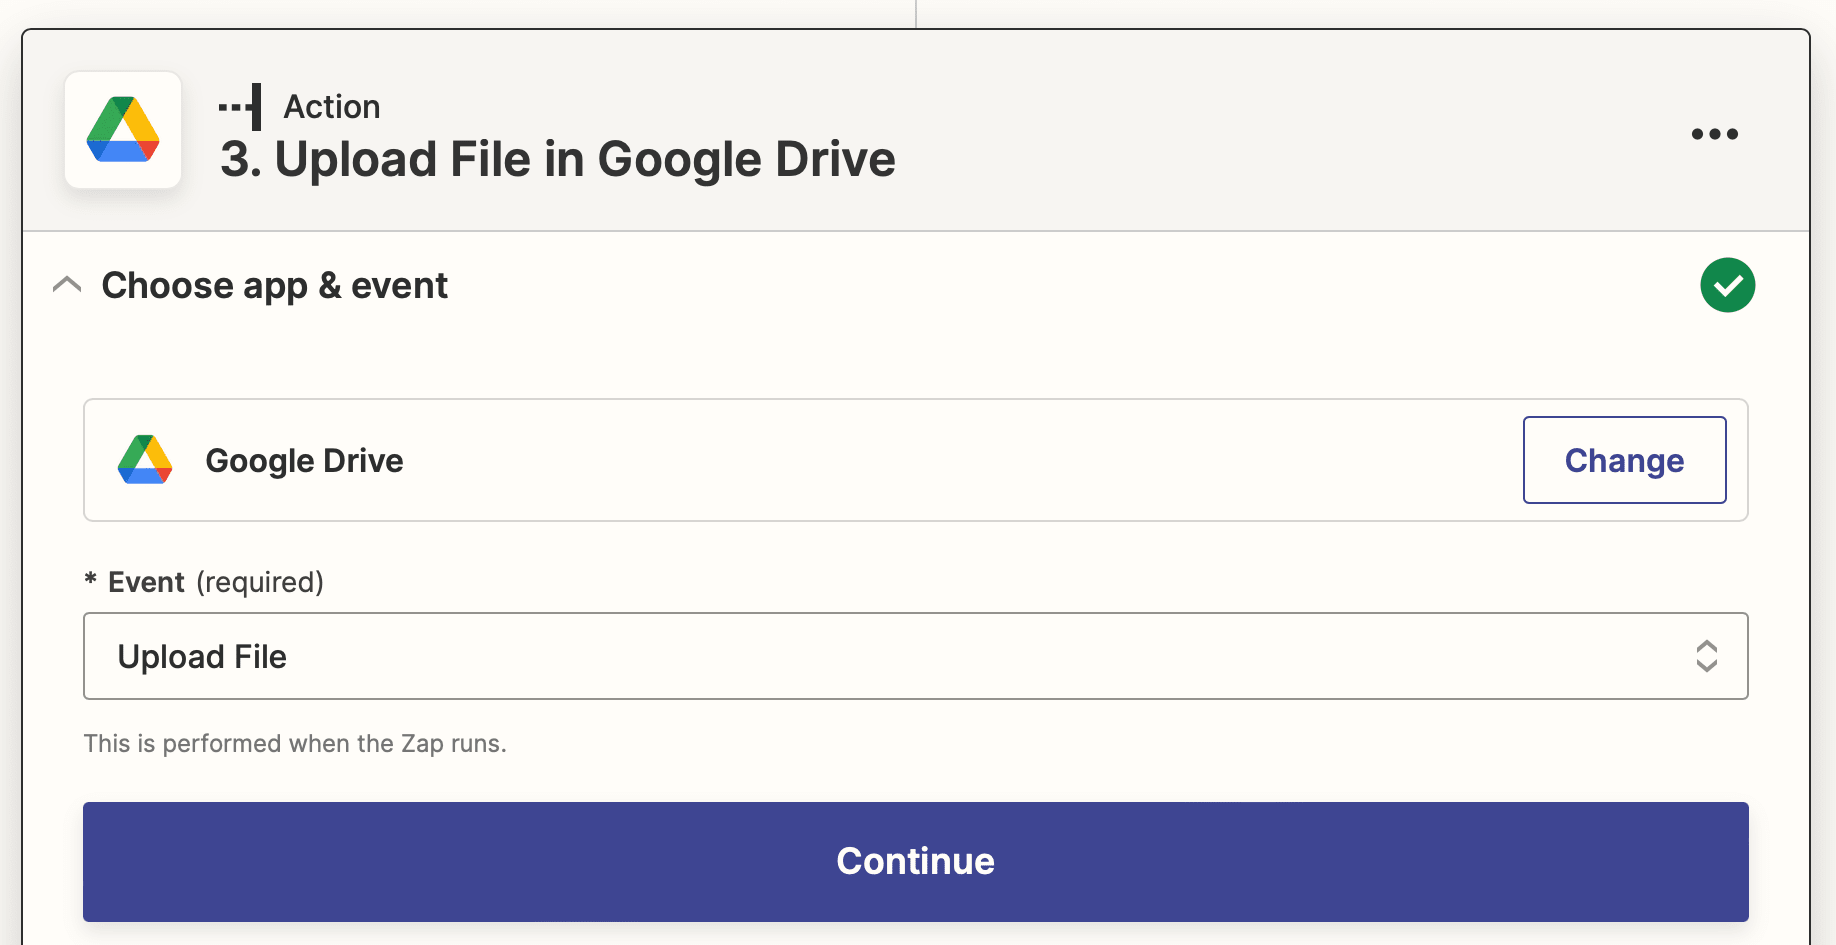
A few ways you can store screenshots are saving them to Google Drive…
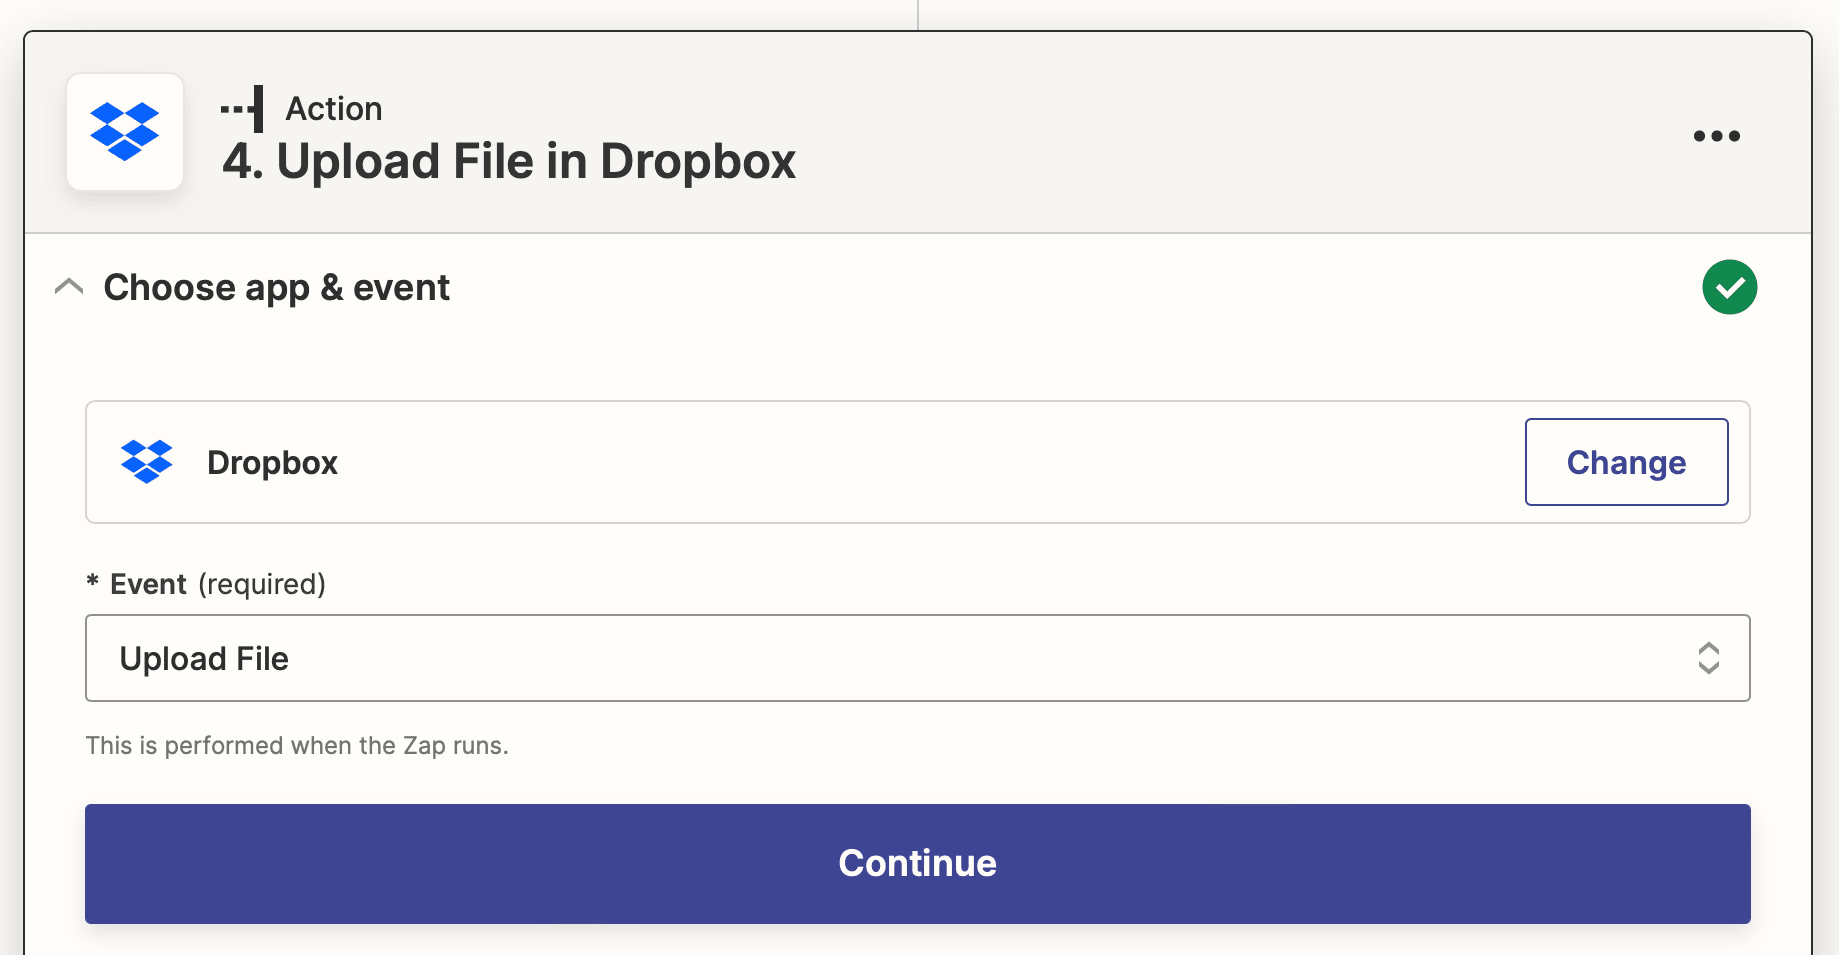
…uploading them to a Dropbox folder that’s synced to your local device…
…or even just linking the asset URL to a database.
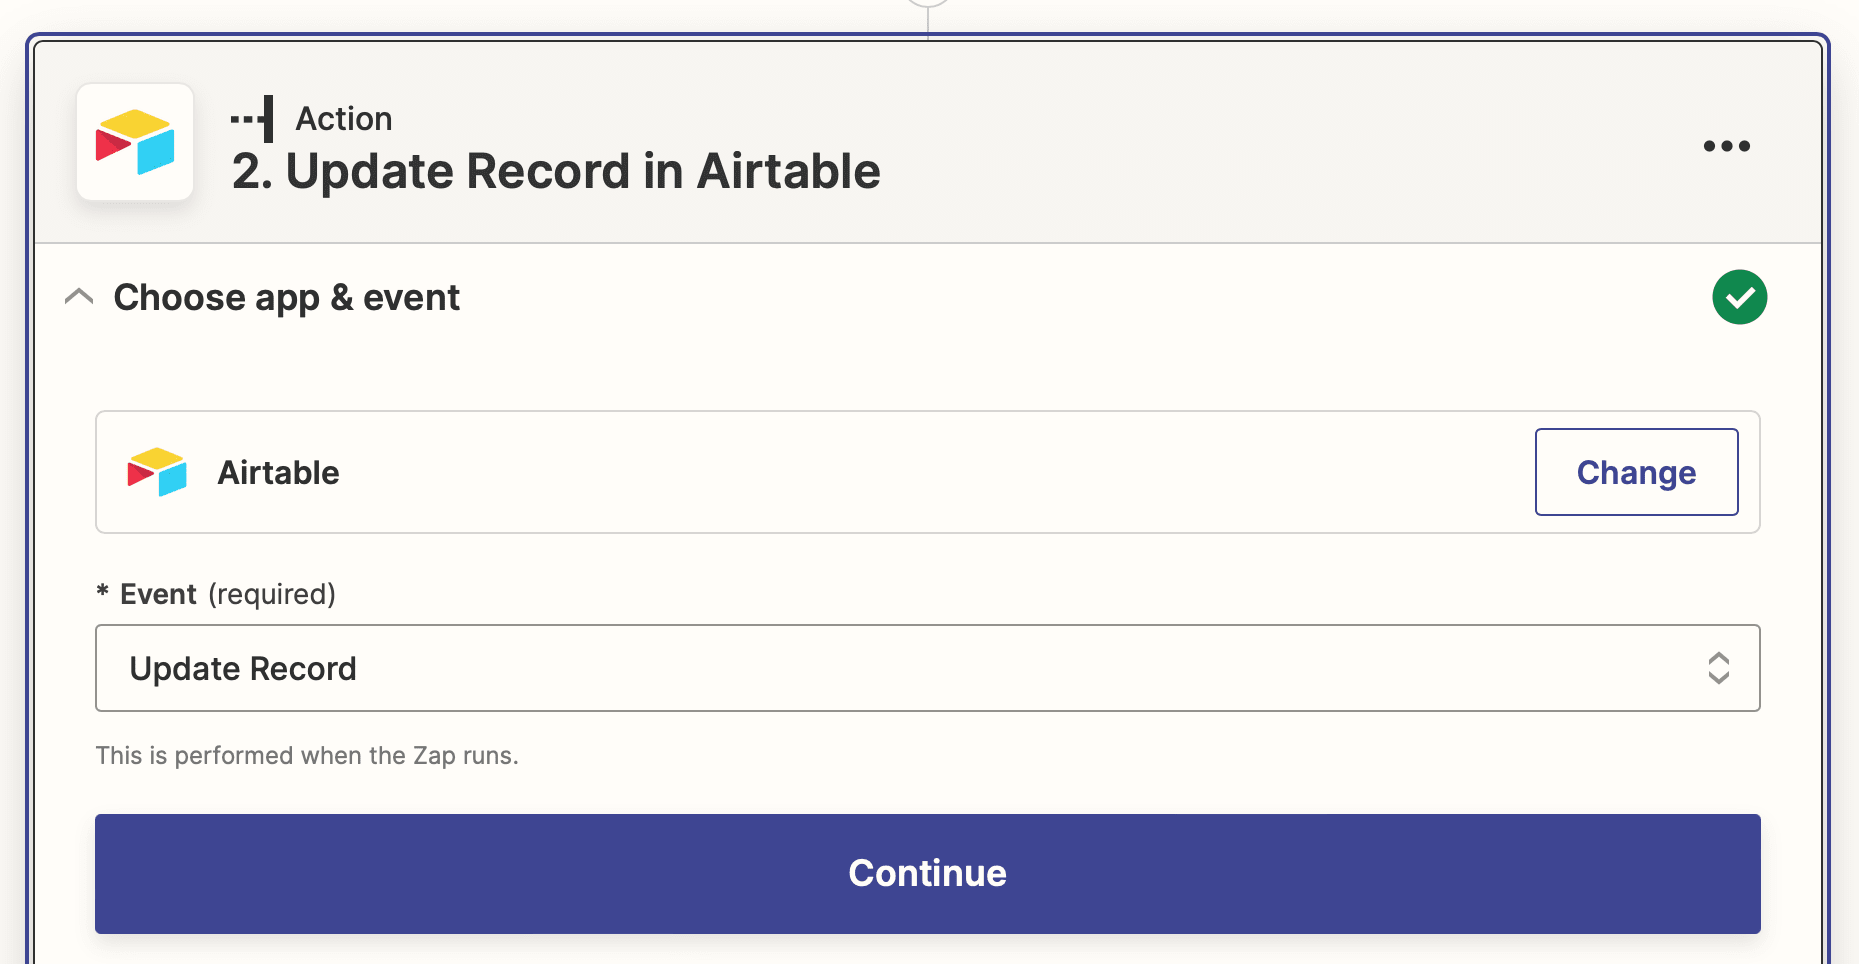
The goal here is to make sure you have access to the screenshots you need without wasting time tracking them down. Once you know your needs, this is relatively easy to do.
4 - Remove Modals and Unimportant Windows
Banners, overlays, cookie pop-ups, and other modals can obstruct webpages and make your screenshots less effective. Browserbear has a feature that removes these modals so you can scrape data or take screenshots without any interference.
From the task setup, add remove_modal as a step prior to your take_screenshot step.
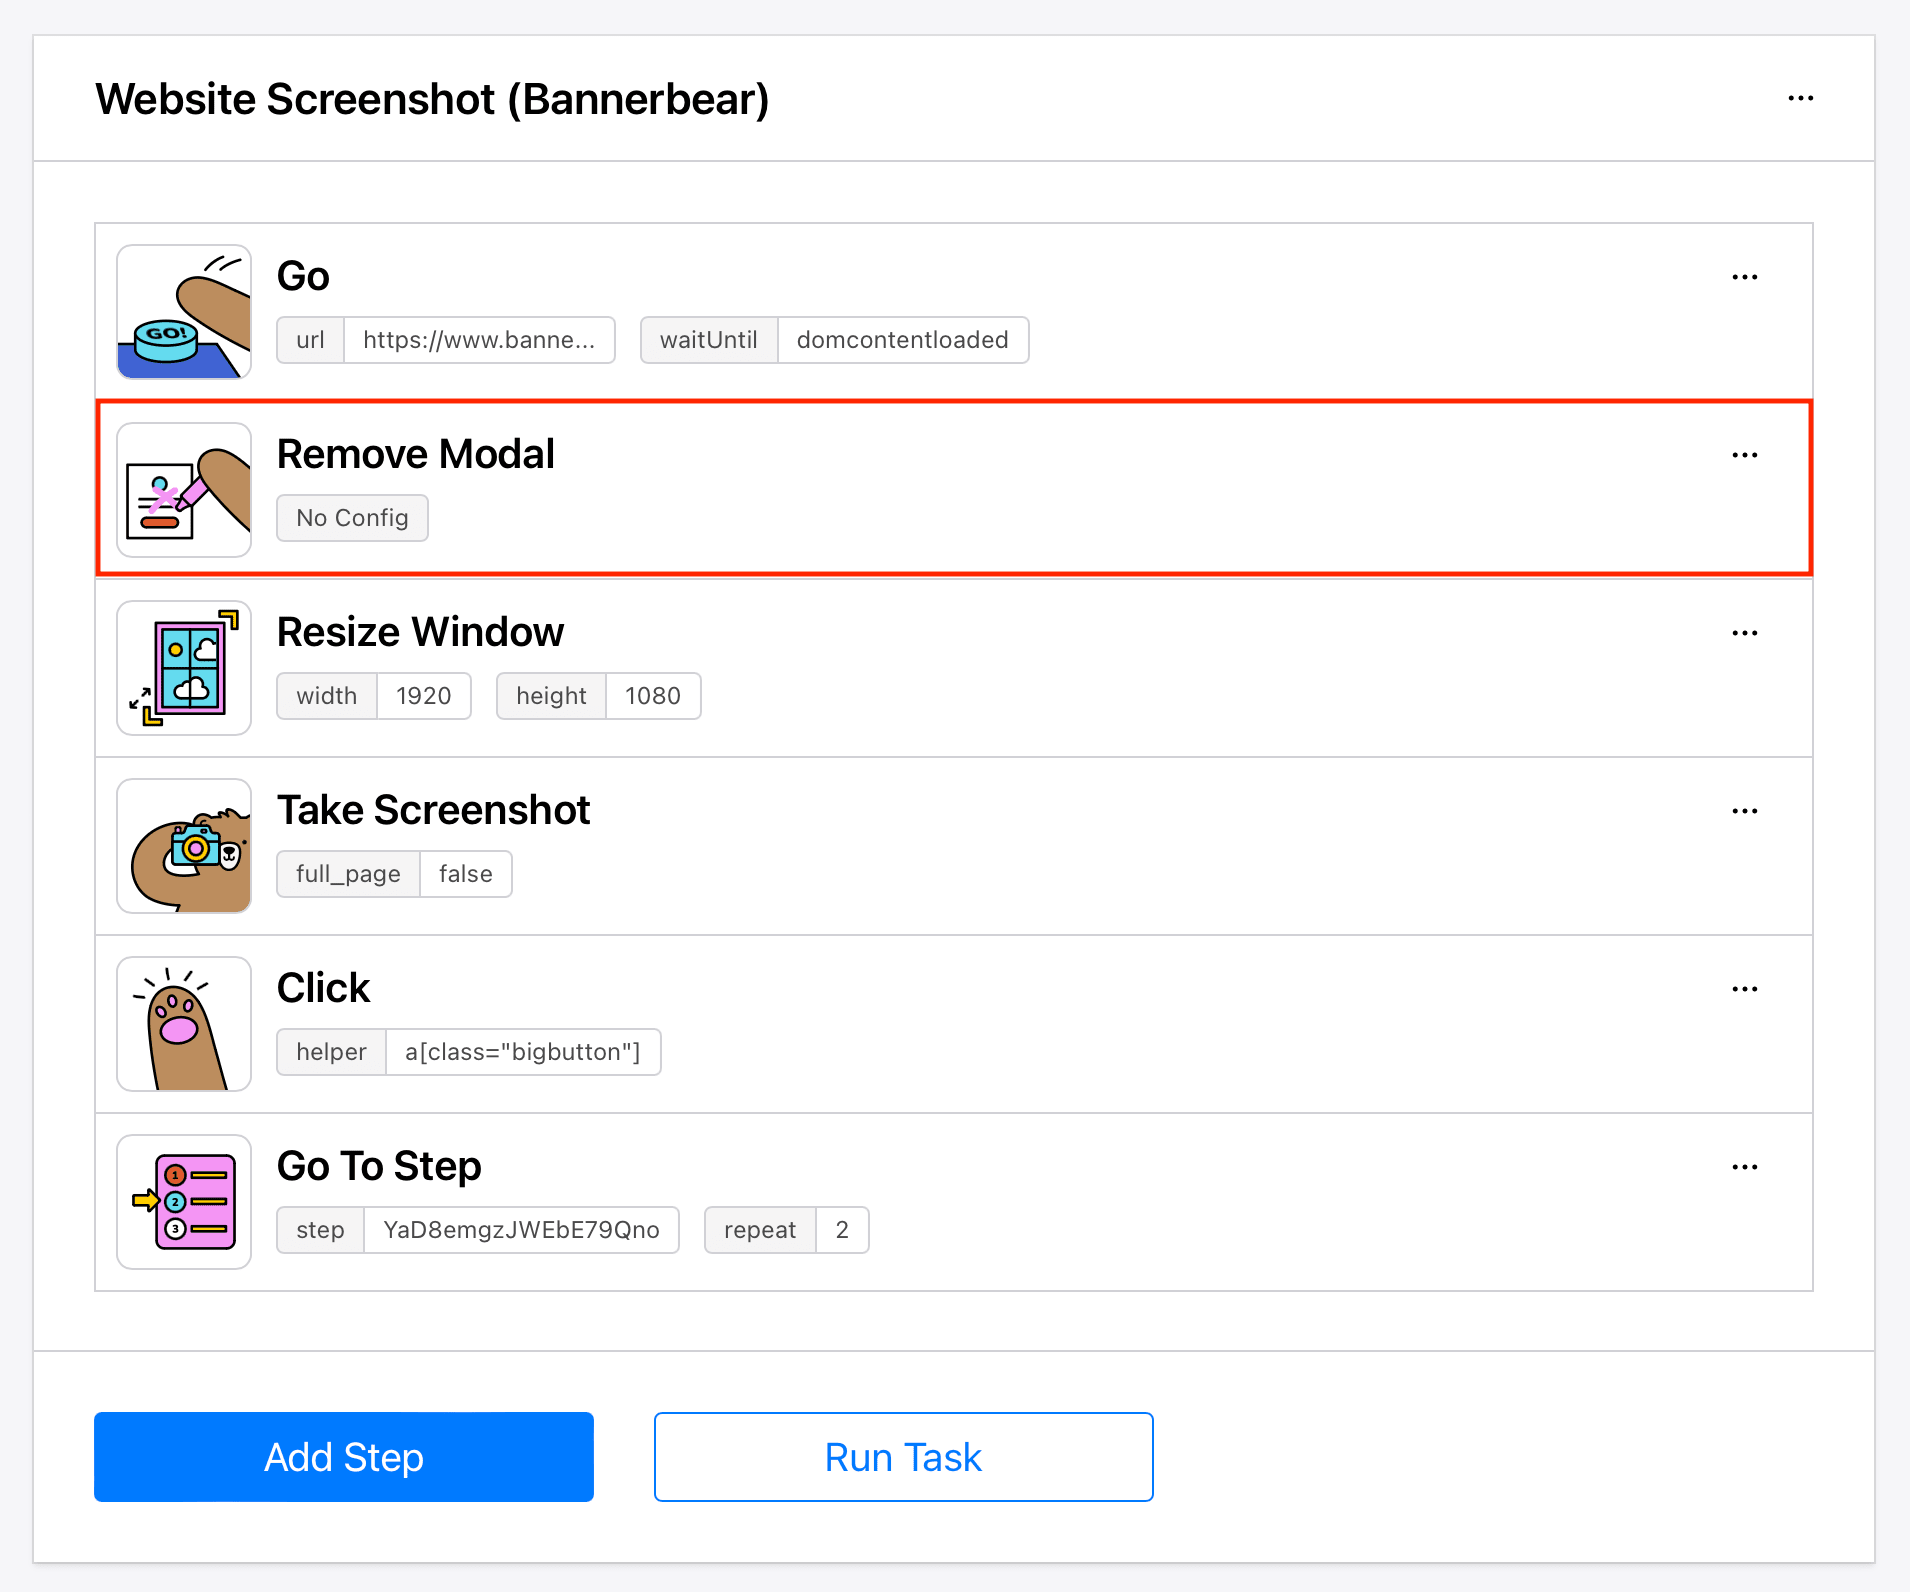
Save your task and run it to make sure no modals are present in your final screencap.
5 - Use Metadata to Store Additional Information
An image or task’s metadata is an opportunity to store some additional information without adding to the file size. You can use it for technical, descriptive, or administrative purposes—anything that helps you organize, sort, and maintain your image files more effectively.
Some information you can save as metadata that might be helpful for screenshots is:
- Timestamps
- Database record ID numbers
- Usage and licensing rights
You can use Zapier or another workflow automation tool instruct apps to save metadata with your screenshots when they are taken.
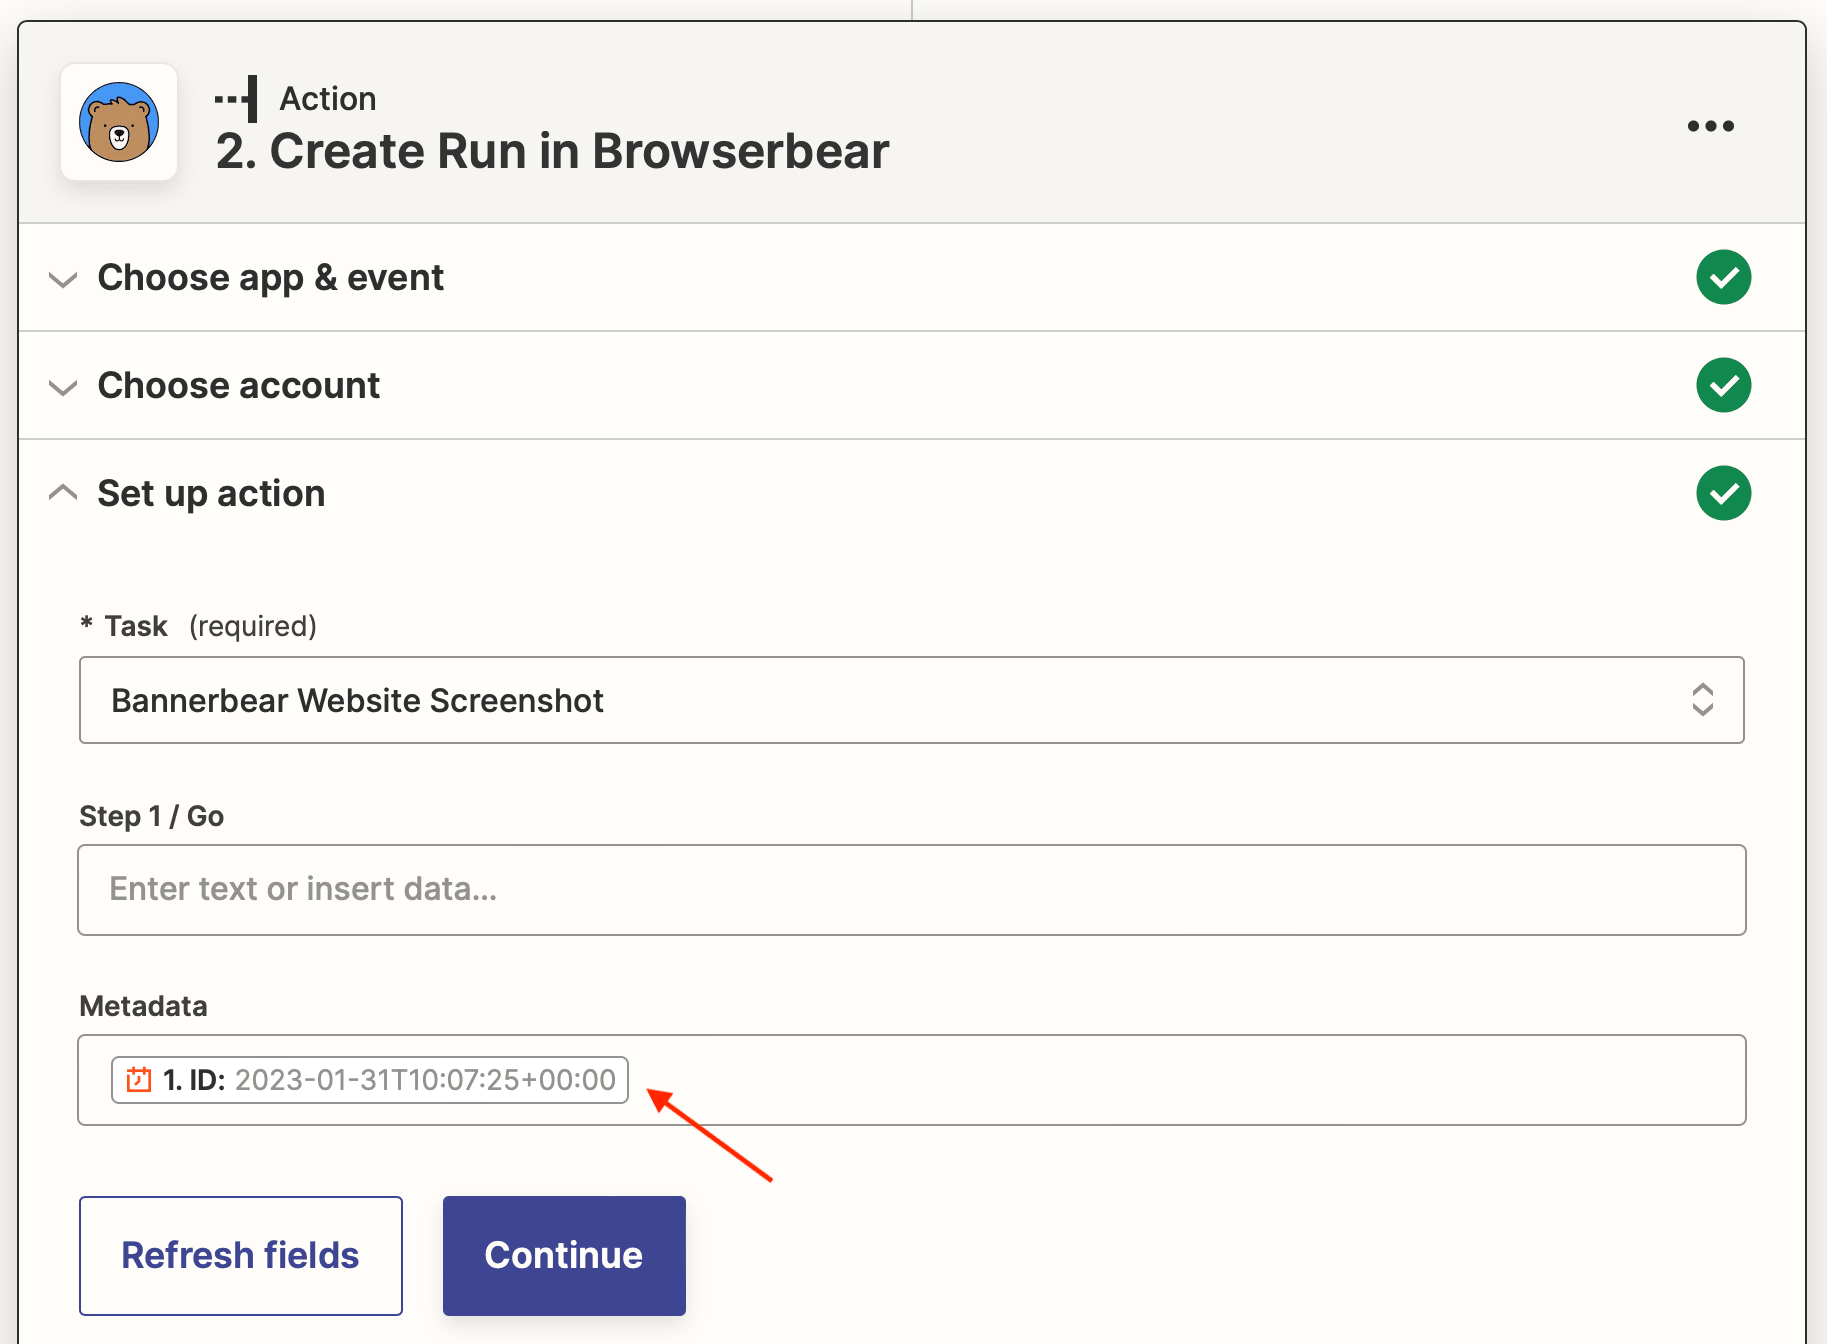
The metadata can be easily accessed by viewing an image's properties, providing additional context.
Bear Tip 🐻: Need supplementary information to be saved onto the image instead of in its metadata? Set up an automation that generates dynamically watermarked photos with Bannerbear!
Building Bulletproof Browser Automations
Setting up your first (or fifth) browser automation is easy, but it can be difficult to maximize its potential but adding parameters and steps that make it perfectly suited to your use.
When setting up a browser automation that captures screenshots, remember to schedule them at the best time and frequency, set a custom resolution, store them in an accessible location, remove modals, and make use of image metadata. Most importantly, keep in mind that your automations will evolve as your needs change and you learn how to build better nocode workflows.


